
For almost the entire year that we’ve had our RV, we haven’t used the hot water. When we first got it, the Atwood 6 gallon hot water tank leaked under pressure. Once we got that sorted out, we found that it used a lot of LP gas to keep the water heated and it took a long time to get hot. As we generally use on-site showers, we ended up leaving the hot water off and using a kettle to get hot water for washing up. Now that winter’s here, we want some hot hand washing water, and we’ve installed a Camco Hybrid Heat electric conversion to get it!
What is an electric hot water conversion?
An electric hot water conversion takes your existing propane hot water heater and adds an additional electric heater. The current propane burner can still be used as normal, but you can also have hot water via your electrical hookup.
The Camco Hot Water Hybrid Heat Kit is similar to other products, such as the Lightning Rod and Hott Rod conversion kits. They all replace the existing hot water drain plug with a new plug that holds an electric immersion heater element inside the tank. In addition, they have a thermostat which sticks to the outside of the tank, and a plug to provide power.

The kit contains the heater element and mounts, thermostat, switch and all the wiring you generally need

Once installed, if the water drops below the new thermostats set temperature, electrical power is used to heat the element. The element gets hot and heats the water until the thermostat turns it off again. If you’re on a campsite with good power, it saves you from using LP gas. If the campsite has renewable power, then it’s also definitely better for the environment too.
We chose the Camco kit for two reasons. Firstly, it has a switch to turn it on and off. Secondly, it has an anode as part of the new drain plug to protect the hot water tank. Officially, we don’t need an anode in our Atwood heater, but the added protection is nice to have.
Installing the hybrid heat kit
Installation is going to vary for each person and each RV. The instructions were helpful and clear (use the ones inside the box). The kit wiring was quite straightforward, and it took us about 4 hours to install.
Finding Power
The kit is designed for 120v use and is rated at 425w. This means that it requires about 3.6Amps to run. Camco provides a 15Amp electrical cable with a moulded plug, but that’s not much use to us; as we’re based in Europe, most of our electrical outlets have been converted to 240v and use British sockets! This meant that we would need to hunt down a suitable 120v* outlet in the RV and use a custom cable.
The closest outlet for us was behind the fridge. Unfortunately, when we tested the outlet we found that the fridge is part of our front A/C circuit. The breaker is only rated to 20Amps and we didn’t want to risk overloading the circuit when the A/C turns on; so this wasn’t a suitable circuit to spur off.
The next nearest outlet was behind the microwave. The microwave is rated to 1,500w, which is 12.5Amps, and it’s on its own dedicated 20Amp circuit. We decided to use this circuit to power our heater. Even though it meant fishing the cable across behind the microwave, down next to the fridge and along the wall behind the heater vents.

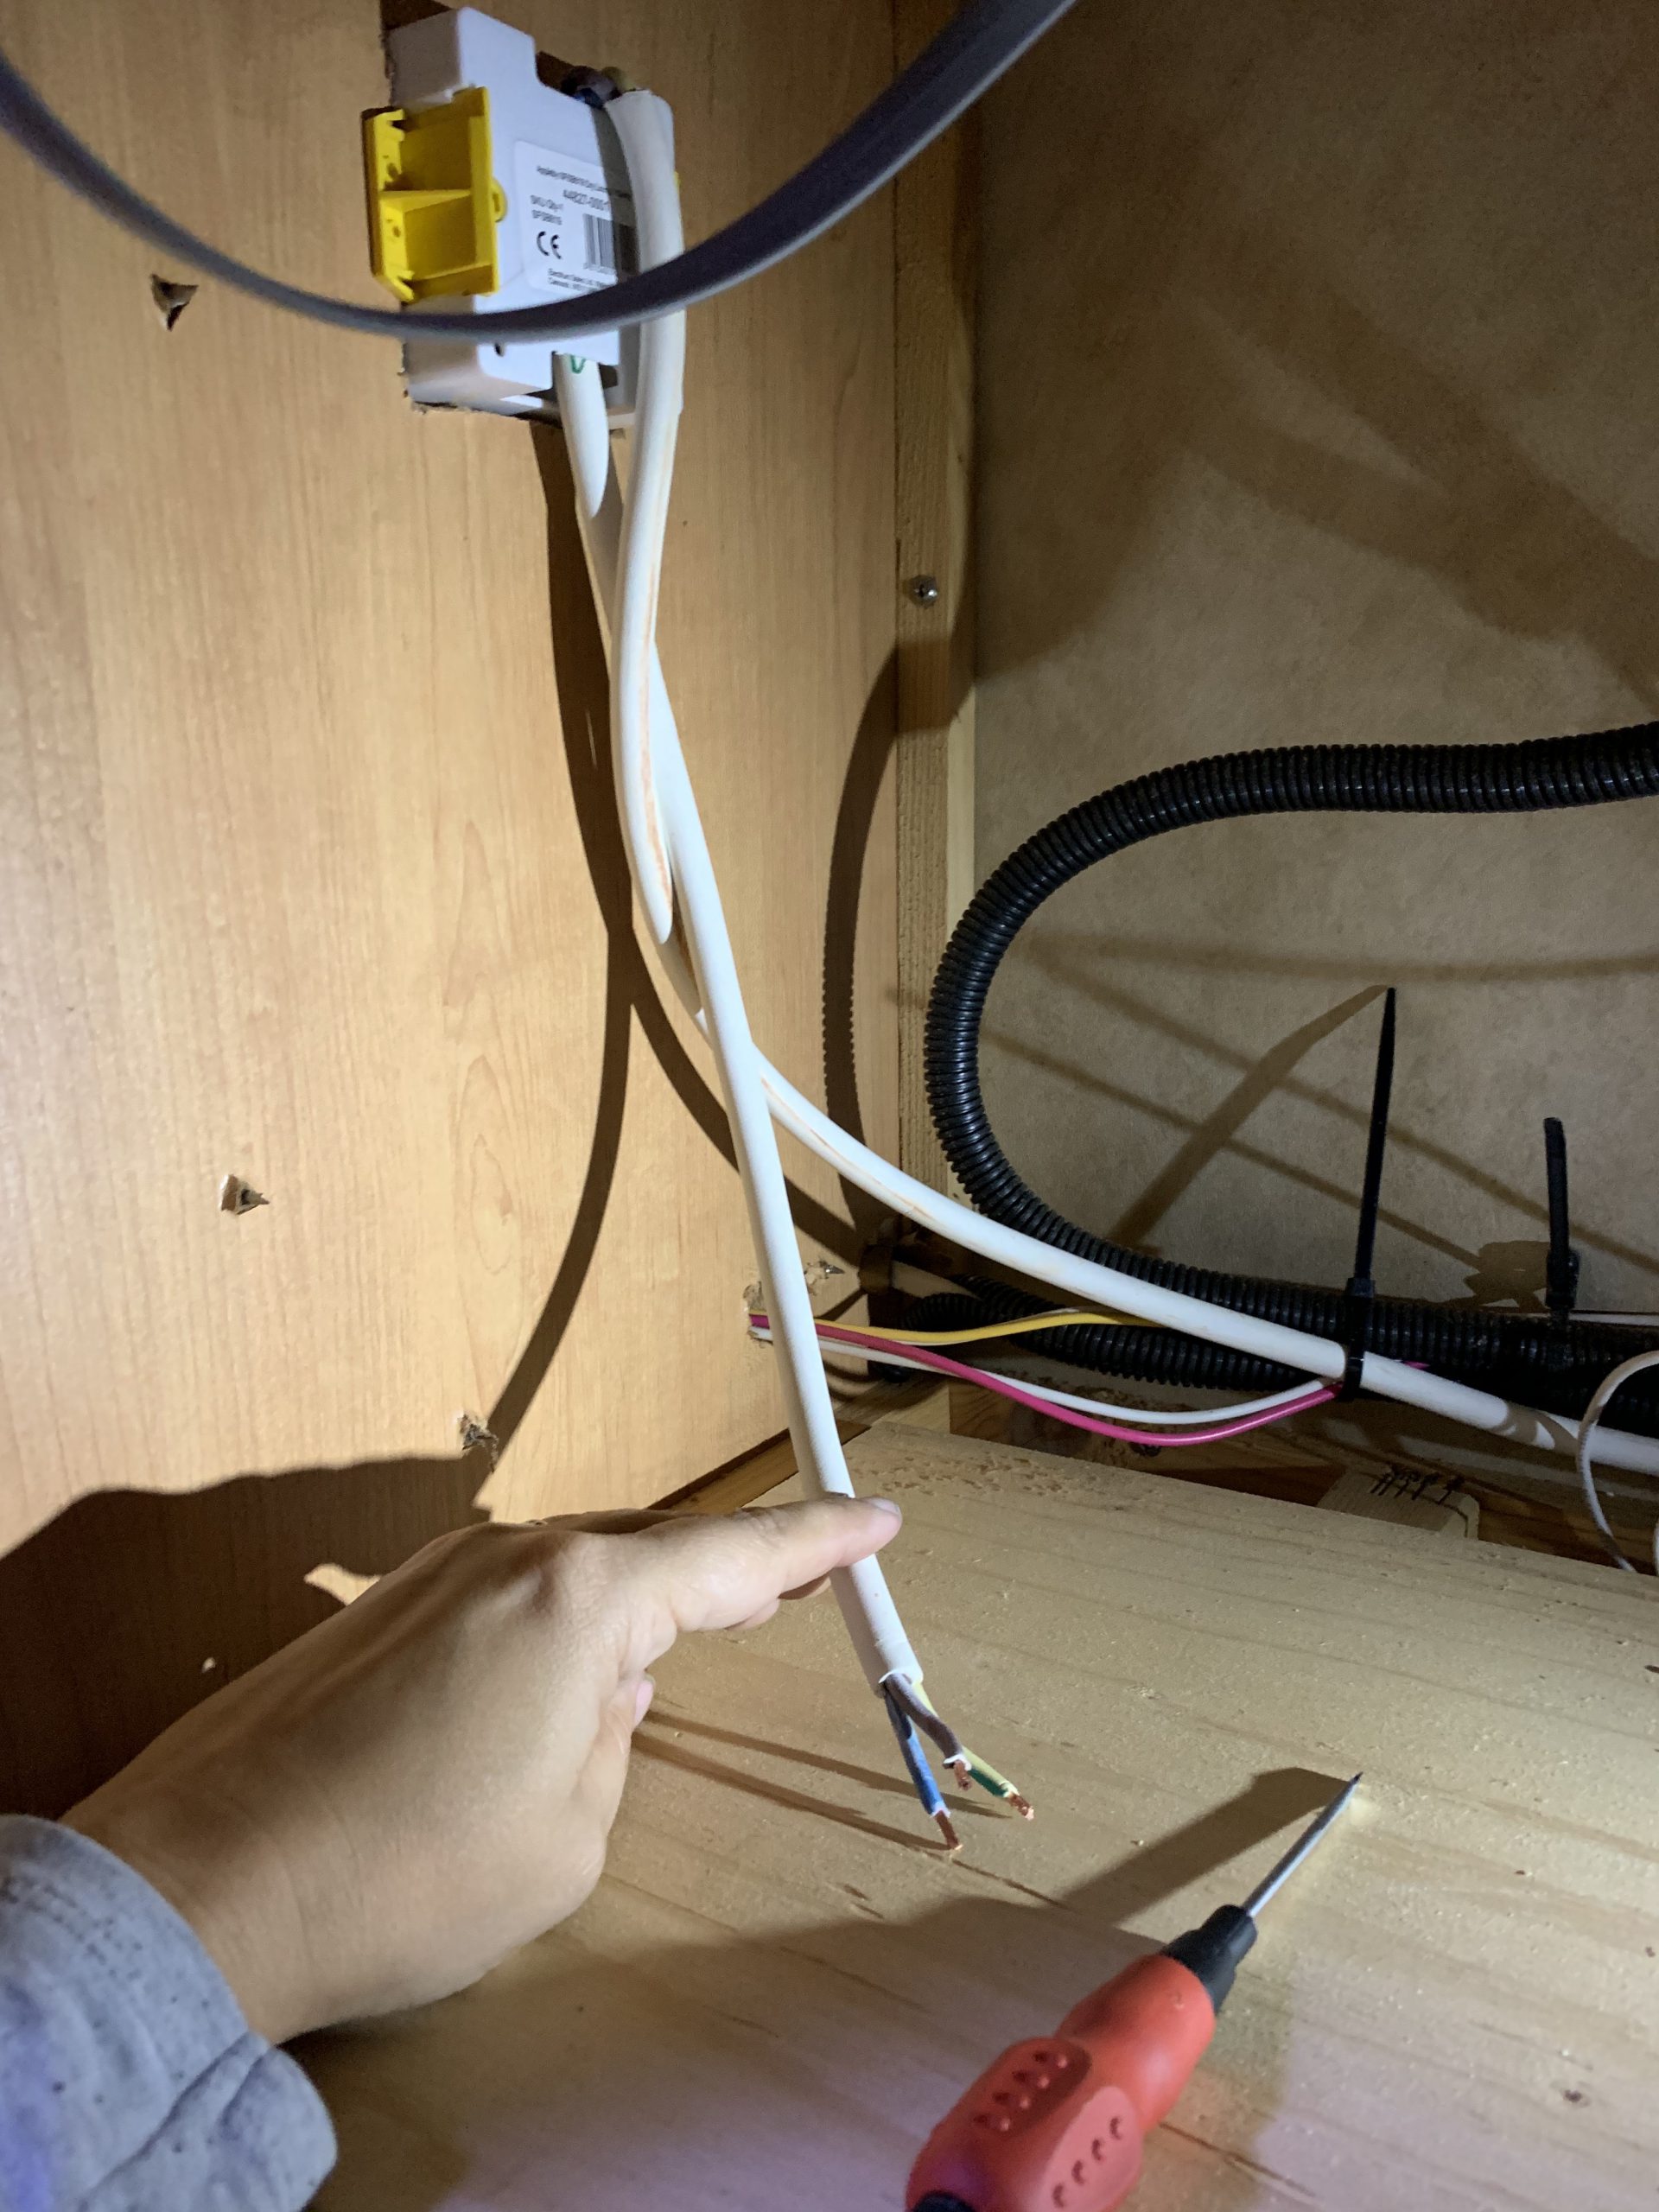
The new wire feeds down through the wall and behind the fridge 
The spur from the outlet that will connect to the main circuit 
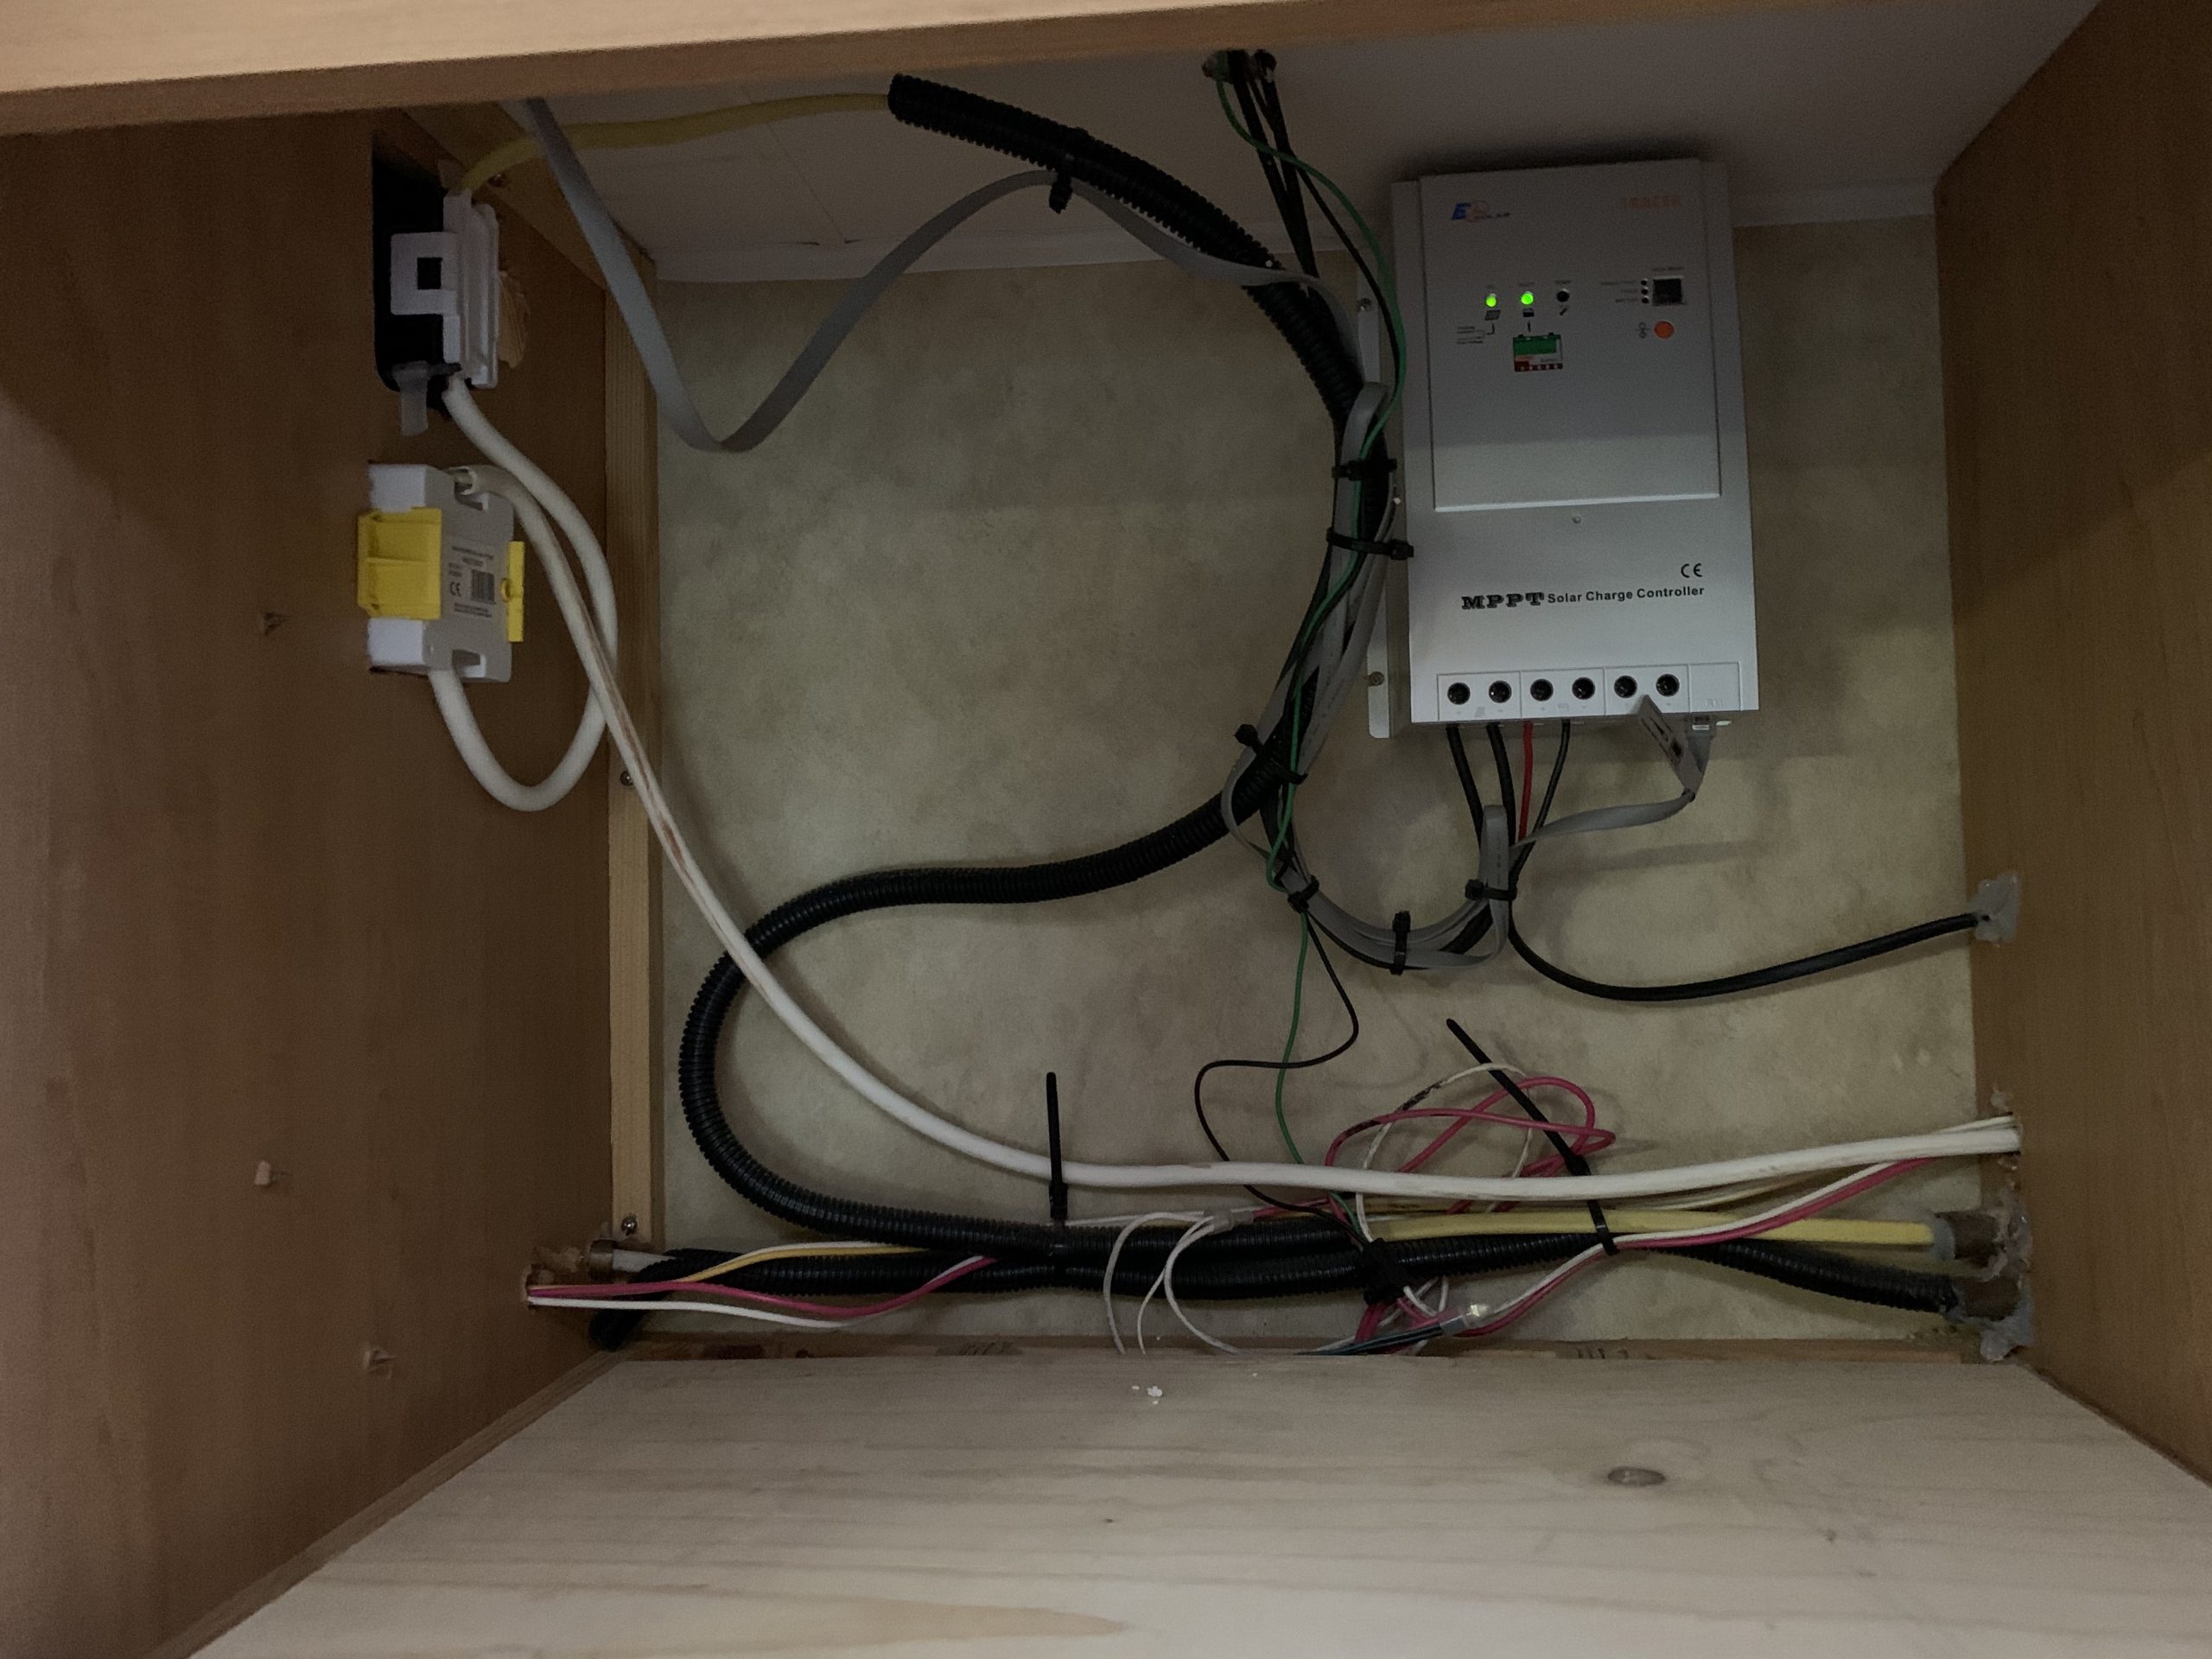
All wired and ready for testing

* The Hott Rod is advertised as being available in 240v, but it was on a long backorder when we enquired about purchasing it.
Blowing a Fuse
The moulded plug provided with the Camco hybrid heat kit is only rated for 15Amps and doesn’t contain a fuse. We’re connecting it to a 20Amp breaker. This runs the risk that 20Amps could flow through the cable, melt it, and start a fire. So we started out by installing an outlet box and a 13Amp fused spur.
The additional switch allows us to cut off all power to the heater and provides a suitable fuse to prevent an overload causing a fire.

Drilling and cutting out a space for the new outlet 
Test fitting the wall box 
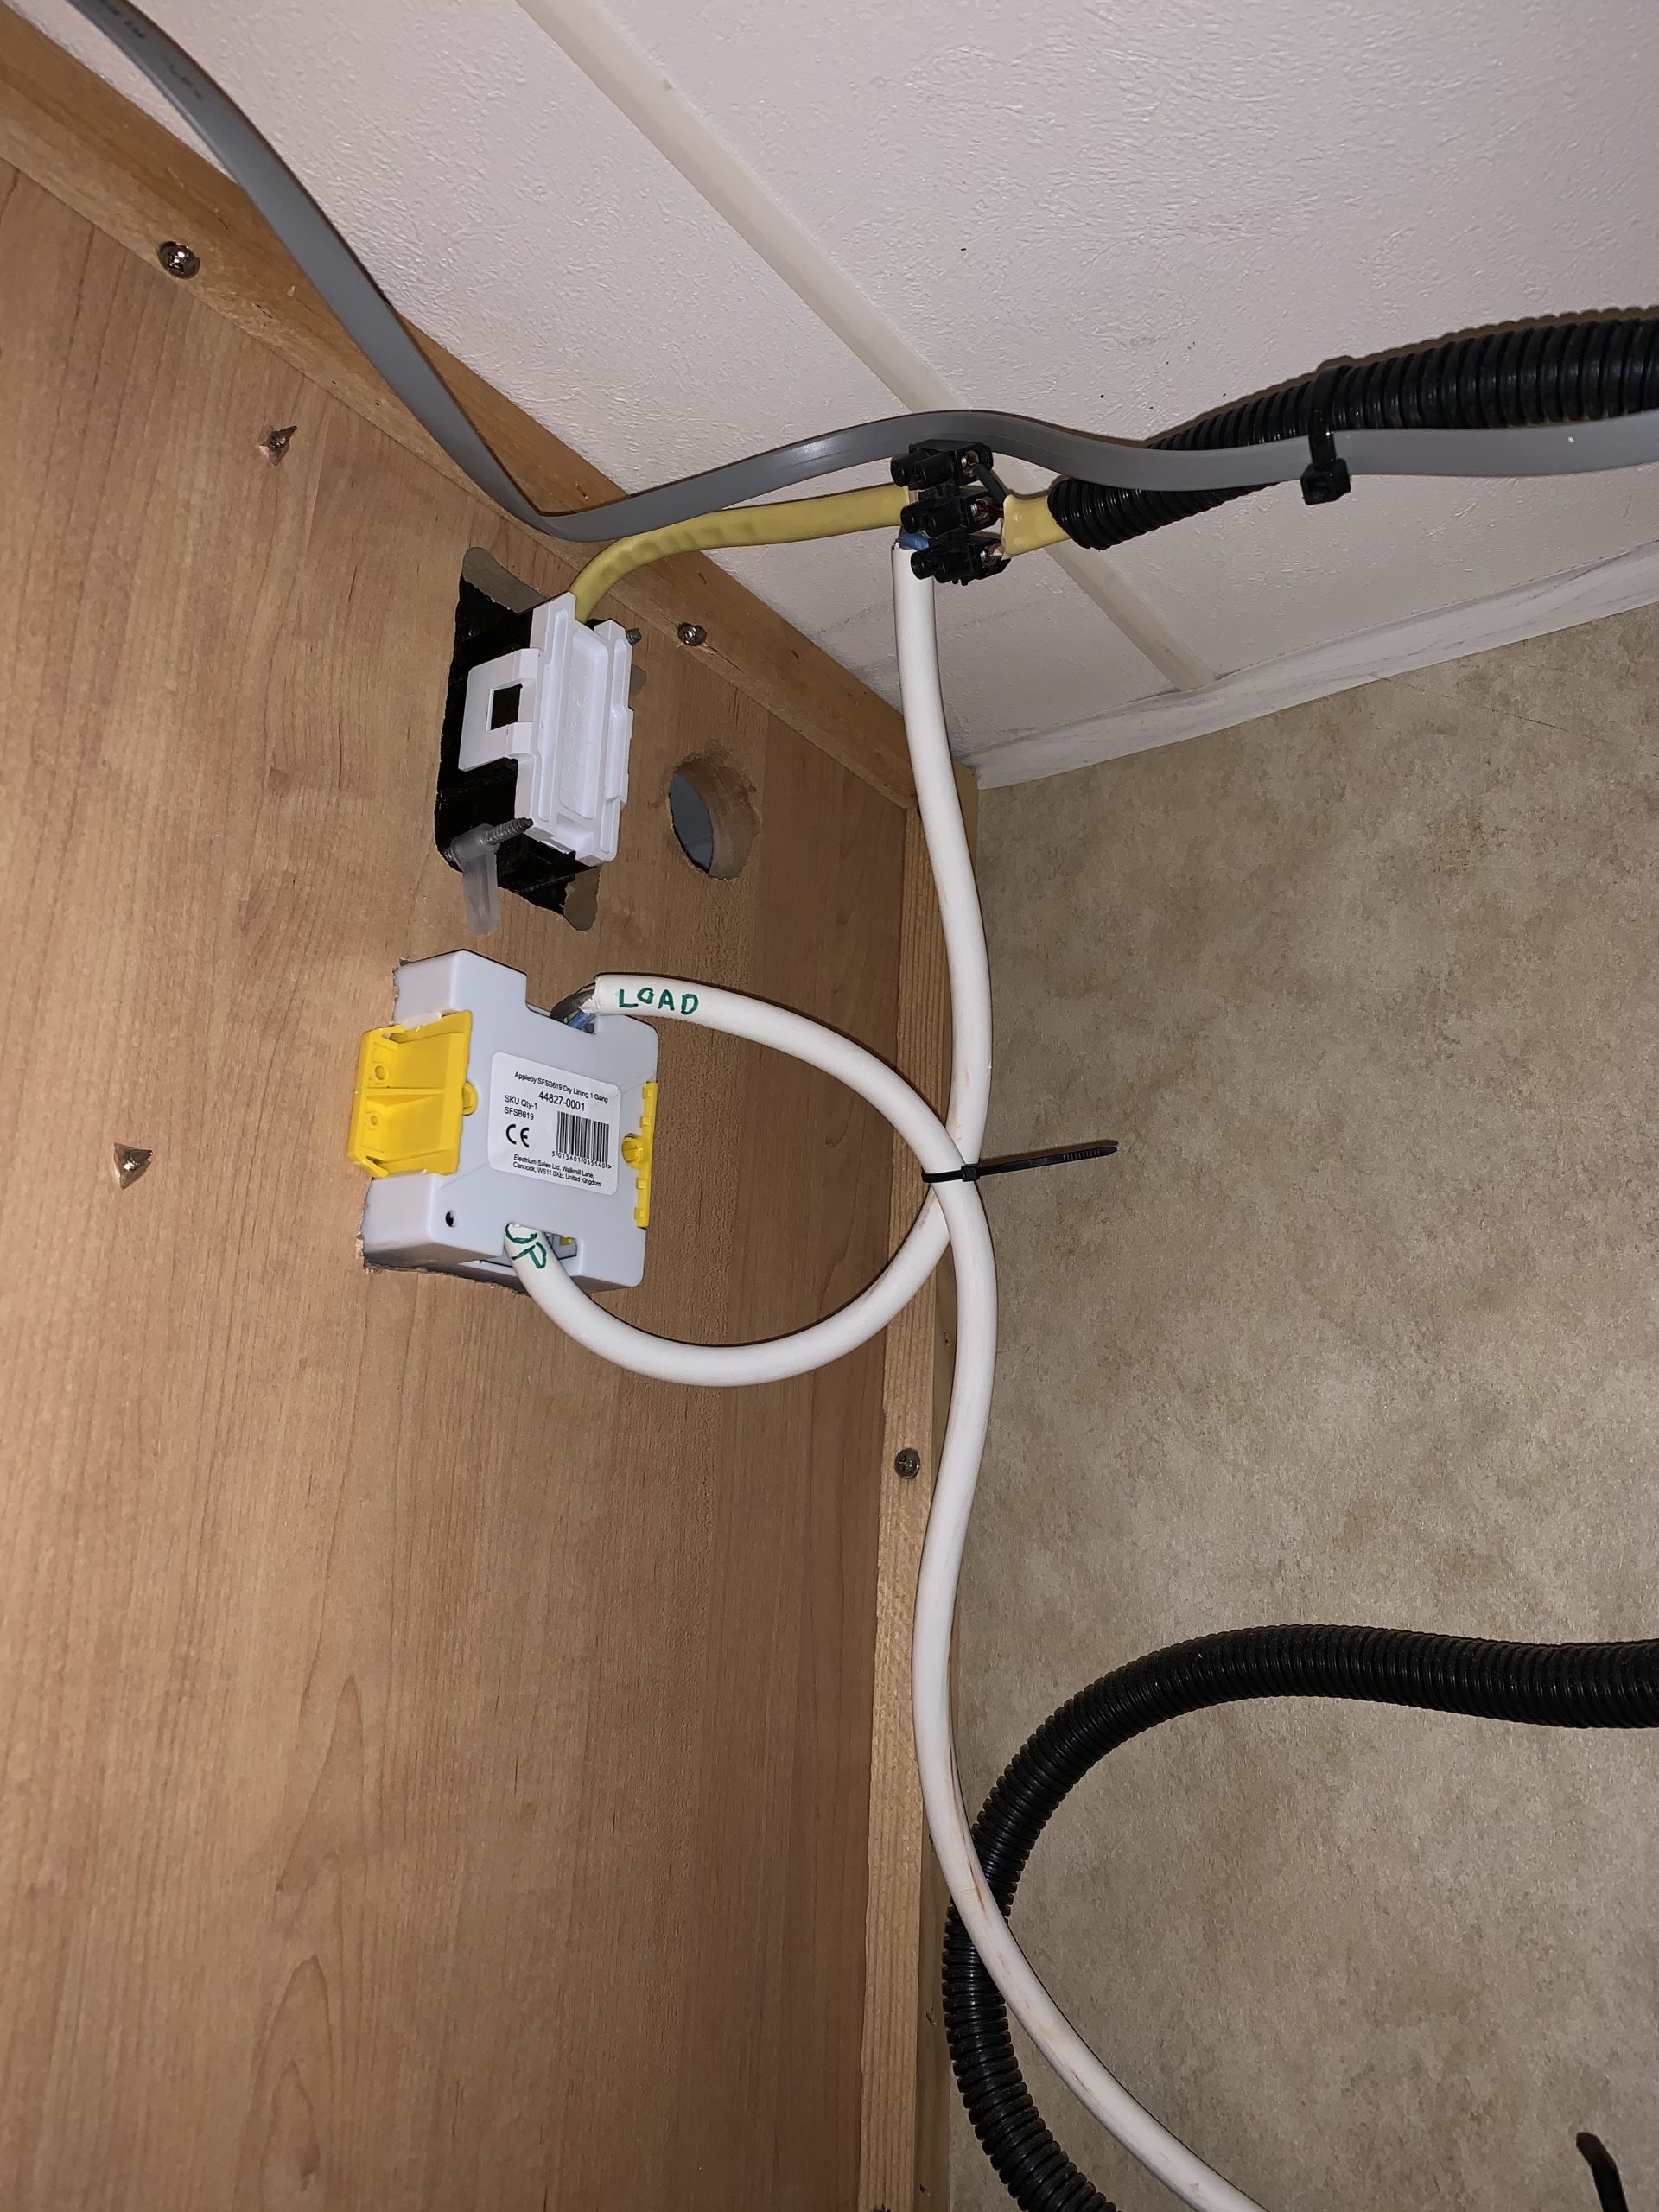
Wiring the switched outlet 
Cables all run to the new outlet 
All done!


It also means our install now has two switches, so we didn’t really need to get the Camco kit! But we hadn’t planned on that when we ordered the hybrid heat kit.
Because we were installing the new spur, we used a new 20Amp rated, heat, oil and grease resistant cable. That should protect it from the nearby microwave, and the back of the fridge, and any cooking grease, and the hot air ducts for the heating! We originally wanted to spur directly off the microwave socket, but we weren’t able to get a suitable connection – so a connection block had to be used. We’ve ordered a box that we can put this connection in to protect it from accidental contact.
Once we’d sorted the main power cable, we terminated it with spade connectors as per the Camco supplied cable. We also used insulation tape to identify the same colour scheme as the original Camco hybrid heat kit for if we need to take it out for any reason.
Wiring the hybrid heat
The kit wiring was as simple as it gets. The installation instructions have a clear wiring diagram on the inside of them. It’s mostly a question of matching the correct colour wires together. While this could be an issue for someone who is colourblind, most cables should be identifiable or interchangeable. The grounding cable is important though, and that might be hard to identify on the mains cable as colour is the only differentiation.
Installing the Heater Element and Thermostat
The Thermostat needs to be stuck directly to the hot water tank, so it was necessary to cut away a small amount of insulation to fit it. The thermostat is pre-set to 120°F (49°C) and is adjustable between 90°F (32°C) and 150°F (65°C).
The heater element is a little more tricky. The kit comes with two replacement drain plugs (one for Atwood water heaters and one for American / More-Flo / Suburban water heaters). Then there is a compression fitting that clamps the heating element, and then screws into the drain plug. PTFE / Teflon tape is provided for the appropriate joints.
In order to run the wiring from the heater element to the wiring inside the RV, it’s necessary to drill a 12mm (½ inch) hole in the water heater compartment. Be careful where you drill! A grommet is provided to hold the cables and partly seal the hole that’s left.
Once bolted in, we found that the long drain plug created by the combined new drain plug, compression adapter and small exposed length of heating element meant that there was some fouling of the propane burner. While it’s only very minor, it is annoying and it’s difficult to get in and tighten all three fittings.

We had to pull the cable down behind the fridge and back into the RV 
Pulling the cables behind the cabinets 
Before 
During 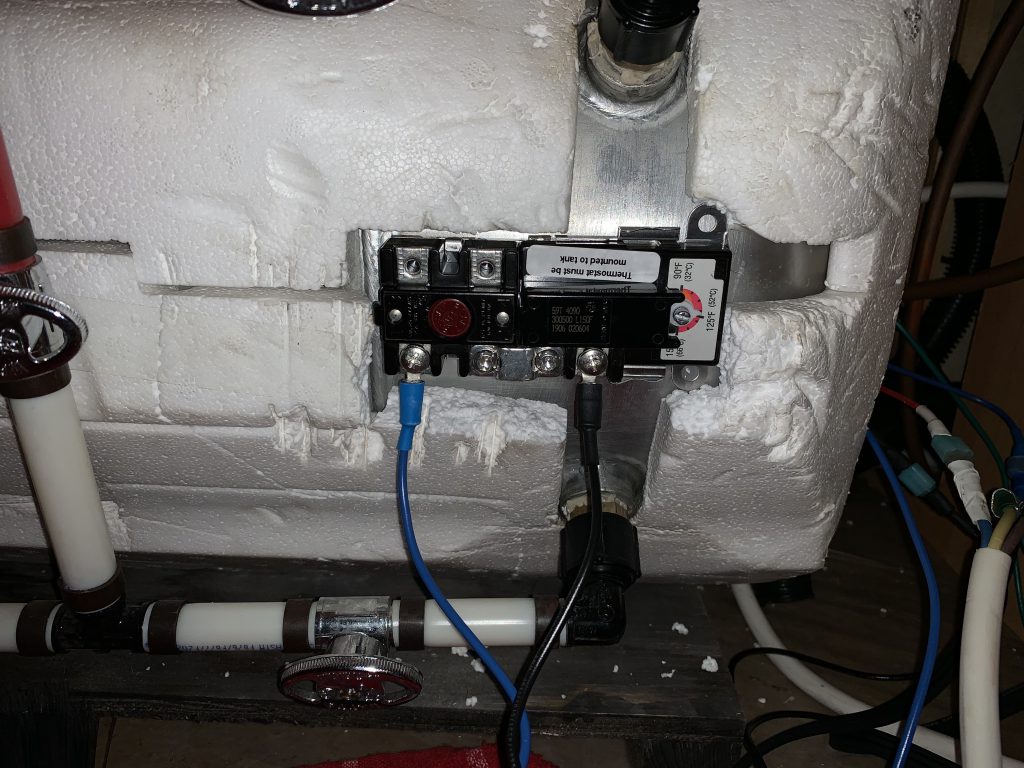
After 
The switch included with the kit 
All wiring completed and tidied away 
Drain the tank before fitting! Refill before heating! 
The heater element takes up a lot of space due to the complex fittings
Testing
After completing the install, we turned on the switches and everything lit up properly! We were pleased and set a timer so that we could test the heat of the water.
40 minutes later, we ran a tap for a while, but the water was stone cold still. We looked online at some reviewers who claimed the full heat up time was just an hour, did our own calculations, and found that it should take about 3 hours to heat up. So we left the heater on for a while longer.
2½ hours later, we ran a tap for a while… but the water was still stone cold. How could this be? We dug out our new multimeter and started testing. It turned out that we hadn’t made a very good connection in our switch box, and we were losing voltage. We remade the connection and got back to 120v at the heater.
A few hours later, we had piping hot water coming out the kitchen tap! 54°C (129°F) water to be precise!
Final Thoughts
We’re pretty pleased with the kit so far. It’s only been in place for about a week and we’ve had nice hot water ever since. We can’t really fault that part of it and we’re very happy to have installed it. Although we are now using a bit more water as it takes time for the hot water to reach the bathroom tap! That’s not the kits fault, but I do have a few bugbears with the kit itself:
The power switch lights up when the kit is turned on but doesn’t seem to go out when the heater isn’t actively heating; it would be nice to visually see when the heating is happening. We know the heater isn’t on constantly, as we can hear the water bubbling on the heater element at times.
I’m not so sold on the multiple adapters that are required to hold the heating element in place. I appreciate Camco want to only have one kit for multiple heaters, but it seems like they could have used a single drain plug/compression fitting and made a much more watertight connection that fits better in the Atwood heater.
Finally, seeing as we had to install a fused switch anyway, I would have preferred the heater element connection used on the Hott Rod. This kit uses a plug which attaches to the base of the heater element, which means much less messing about with cables when it comes time to drain the tank. When I have to do maintenance, I might add an additional connector so that I’m not having to feed cables through the wall constantly.
2 comments
How much does it cost
Hi Lucinda,
When we purchased the kit, it was a bit cheaper than it is now. We can only find it at a reasonable price via amazon.com, as in the UK the price is ridiculous! Here is a link to the amazon store where it’s just under $100 plus $35 shipping as of writing: https://amzn.to/36qclaJ