
Just two days into our class A RV ownership experience, the original Trimark door handle failed. Was it poor design, age, previous mistreatment? It doesn’t matter. When the dealer offered us a direct replacement, we wanted an upgrade. After seeing other reviews, we were dead set on getting an RV Lock.
What makes an RV Lock special then?
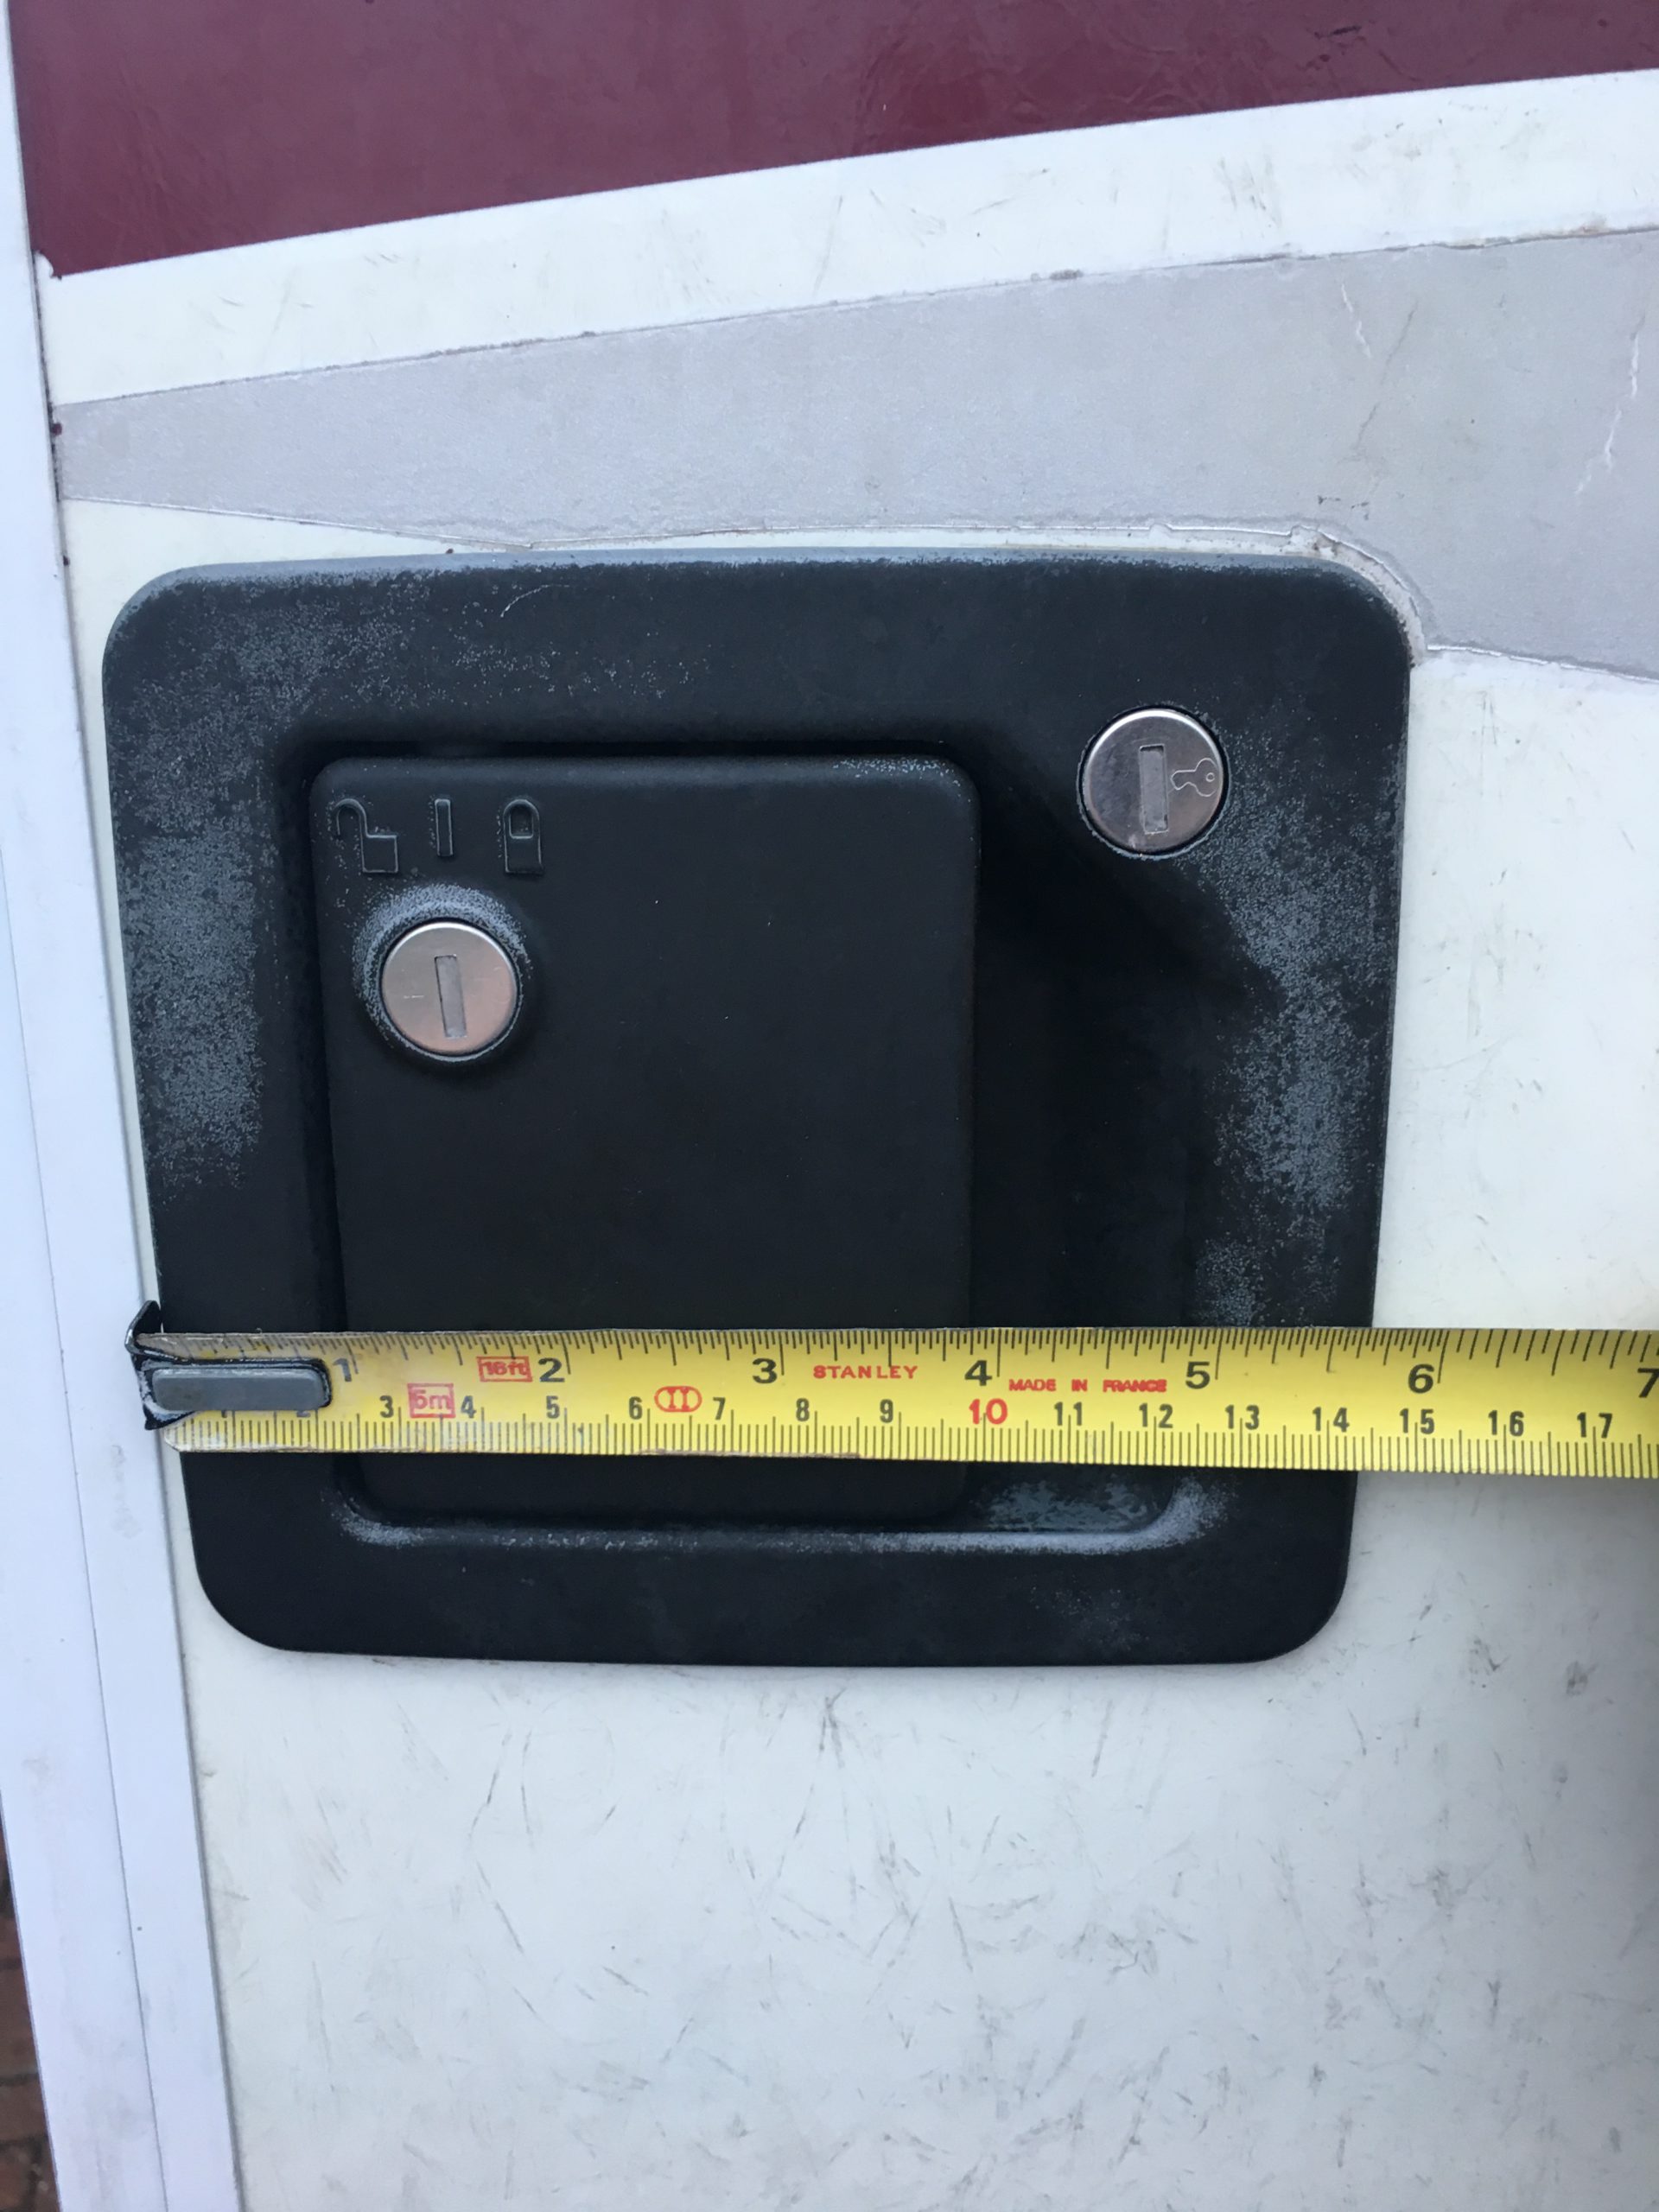
Most RVs, or at least, the older ones came with regular door locks. They’ve got two key holes, one locks the door, the other locks the handle. It’s good enough, but given the giant stack of keys our RV came with, carrying less of them around is better.
The RV Lock changes that. It’s a direct replacement lock mechanism that adds a wireless remote fob, as well as a keypad that can be used for locking and unlocking the door.
As well as the main entry doors, RV Lock also offers baggage door locks which also support pin entry and the wireless remote fob and can be keyed the same so one key does everything. If you want to go that far…
How well does it work?
It’s been a brilliant upgrade. The ability to pop out without dragging a whole bunch of keys has meant that we secure our RV far more often than we would otherwise. Going to the showers? Press the lock button on your way out. Going to the site office? Press the lock button on your way out. The simple ease of doing it means that whoever is last to leave the RV, locks the door.
The opposite works too. Already in the car and remembered you need something in the RV? Send someone for it and unlock with the fob. If it’s out of range then that person can unlock it with the pin.
It’s been especially helpful with our daughter Olivia, as we can all be outside with the door locked. If she then wants to go back in, she can do – without keys or the remote. She’s so used to operating the lock herself that she does it even if the door is stiff – she just assumes it’s locked.
Battery life
Of course, the best parts of this lock are powered by the batteries. There are 4 AAA batteries mounted under the cover in the lock. So far, having fresh batteries at first install, we’ve changed them twice in just under 2 years. That’s a lot of operations and better battery life than we expected.
The handle lock is still manual
One of the few things we didn’t realise when we bought the lock, was that the only the deadbolt is operated by the lock motor. The handle lock is still purely key operated, and it would be a great upgrade if they offer this functionality in future.
How durable is it?
So far, it’s held up really well. It looks as new as it did when we fitted it, and we haven’t had any build quality issues.
Some of the reviews have said that there are issues with the handles and lock internals, but we haven’t experienced any yet.
Finding the right lock
Before you go ahead and order an RV Lock, check that it will fit first. For us, the class A/C lock was the correct fit, but you might need an alternative size.

Approx 5.5″ tall (14 cm) 
Approx 5.75″ tall (14.6 cm)

You will also need to make sure you get the right opening direction and check that you are able to move/replace the striker in the door frame.
Once we’d identified the lock would fit, we placed our order and waited.
Fitting and fiddling
When our lock arrived, we were slightly disappointed to find that one of the internal lock handles was broken. We think this was because of the way it was packaged for shipping, as the lock and faceplate were free to move against each other. The supplied batteries were also rather corroded. RV Lock sent us out new internal handles after a quick email though, and even a refund for the batteries!

Broken handle on arrival 
Corroded batteries
The initial fitting was very simple, our existing lock was already destroyed, but would have only needed unscrewed anyway. The old lock was slipped out of the door, leaving a nice big squarish hole.
When the new RV Lock is bolted into the door, there are two parts. The outer part contains the lock, keypad etc, and goes on from outside. The inner handle holds the battery and secures the lock to the door. When the two parts are put together, there’s a small ribbon cable that needs to be connected – make sure not to pinch the cable when the lock is bolted in!
Finally, the red inner lock handles will need to be pushed onto their spindles on the lock. These are easy to place because they have a flat keyed edge on the spindle that matches with the handle. Once pushed on, they shouldn’t come off easily.
Before you close the door for the first time – make sure the handle works!
Alignment takes time
The tricky part is getting good alignment of the lock. A new striker is provided as part of the kit, but it wasn’t possible to replace ours without removing the door frame. Getting the alignment correct was all about constantly adjusting the mounting of the lock itself, as well as the two bolts that go either side of the striker.

Setting these pins correctly is crucial for a good door closing experience 
All fitted up inside
After about 20 minutes of fiddling, we were happy with how the door opened and closed. The bolts were tightened for the last time, and new batteries were added. Now it was just time for configuration.
Setting the pin on an RV Lock
The lock arrives with a default pin of 1234. It’s a good idea to change it.
The process to change the pin is simple enough. Here, we’ll change the default pin to 5678:
- Press and hold the 8 button
- While holding the 8 button, press the lock button – you should hear a long beep
- Release the 8 button and lock button
- Type in the existing pin, one button at a time (1-2-3-4) and press the lock button
- Enter the new pin, one button at a time (5-6-7-8) and press the lock button
- Type in the new pin again, one button at a time (5-6-7-8) and press the lock button – you should hear a long beep to confirm the code has changed
If you have forgotten the pin for your RV Lock, open the door (using the keys or wireless remote), and press the ‘code reset’ button using a pen or similar for 10 seconds. You should hear a long beep, and the code will be reset to 1234.
Sync the wireless remote to an RV Lock
The wireless remote is easy to sync up.
- Switch the button on the back of the lock to ‘ON’ from ‘OFF’
- Press the ‘learn’ button next to the switch using a pen or similar – you should hear a short beep
- Press the lock button on the wireless remote you want to sync until you hear a long confirmation beep
- The lock should now lock itself
Stopping the RV Lock beeping
A lot of people don’t seem to like the beeps that the RV Lock uses, but personally, I like having them. If you want to stop the beeping, press and hold 1 until you hear a short double beep. Now you can press all the buttons without any sounds.
To enable the beeping, press and hold 1 until you hear a long confirmation beep.
Installation and setup video
RV Lock has also provided videos to set up their locks. There isn’t one for the class A/C lock that we have, but everything in this video is applicable:
2 comments
Sadly they don’t make a replacement for the most popular door lock sold by trimark
That’s a shame – which lock is it that isn’t available?