
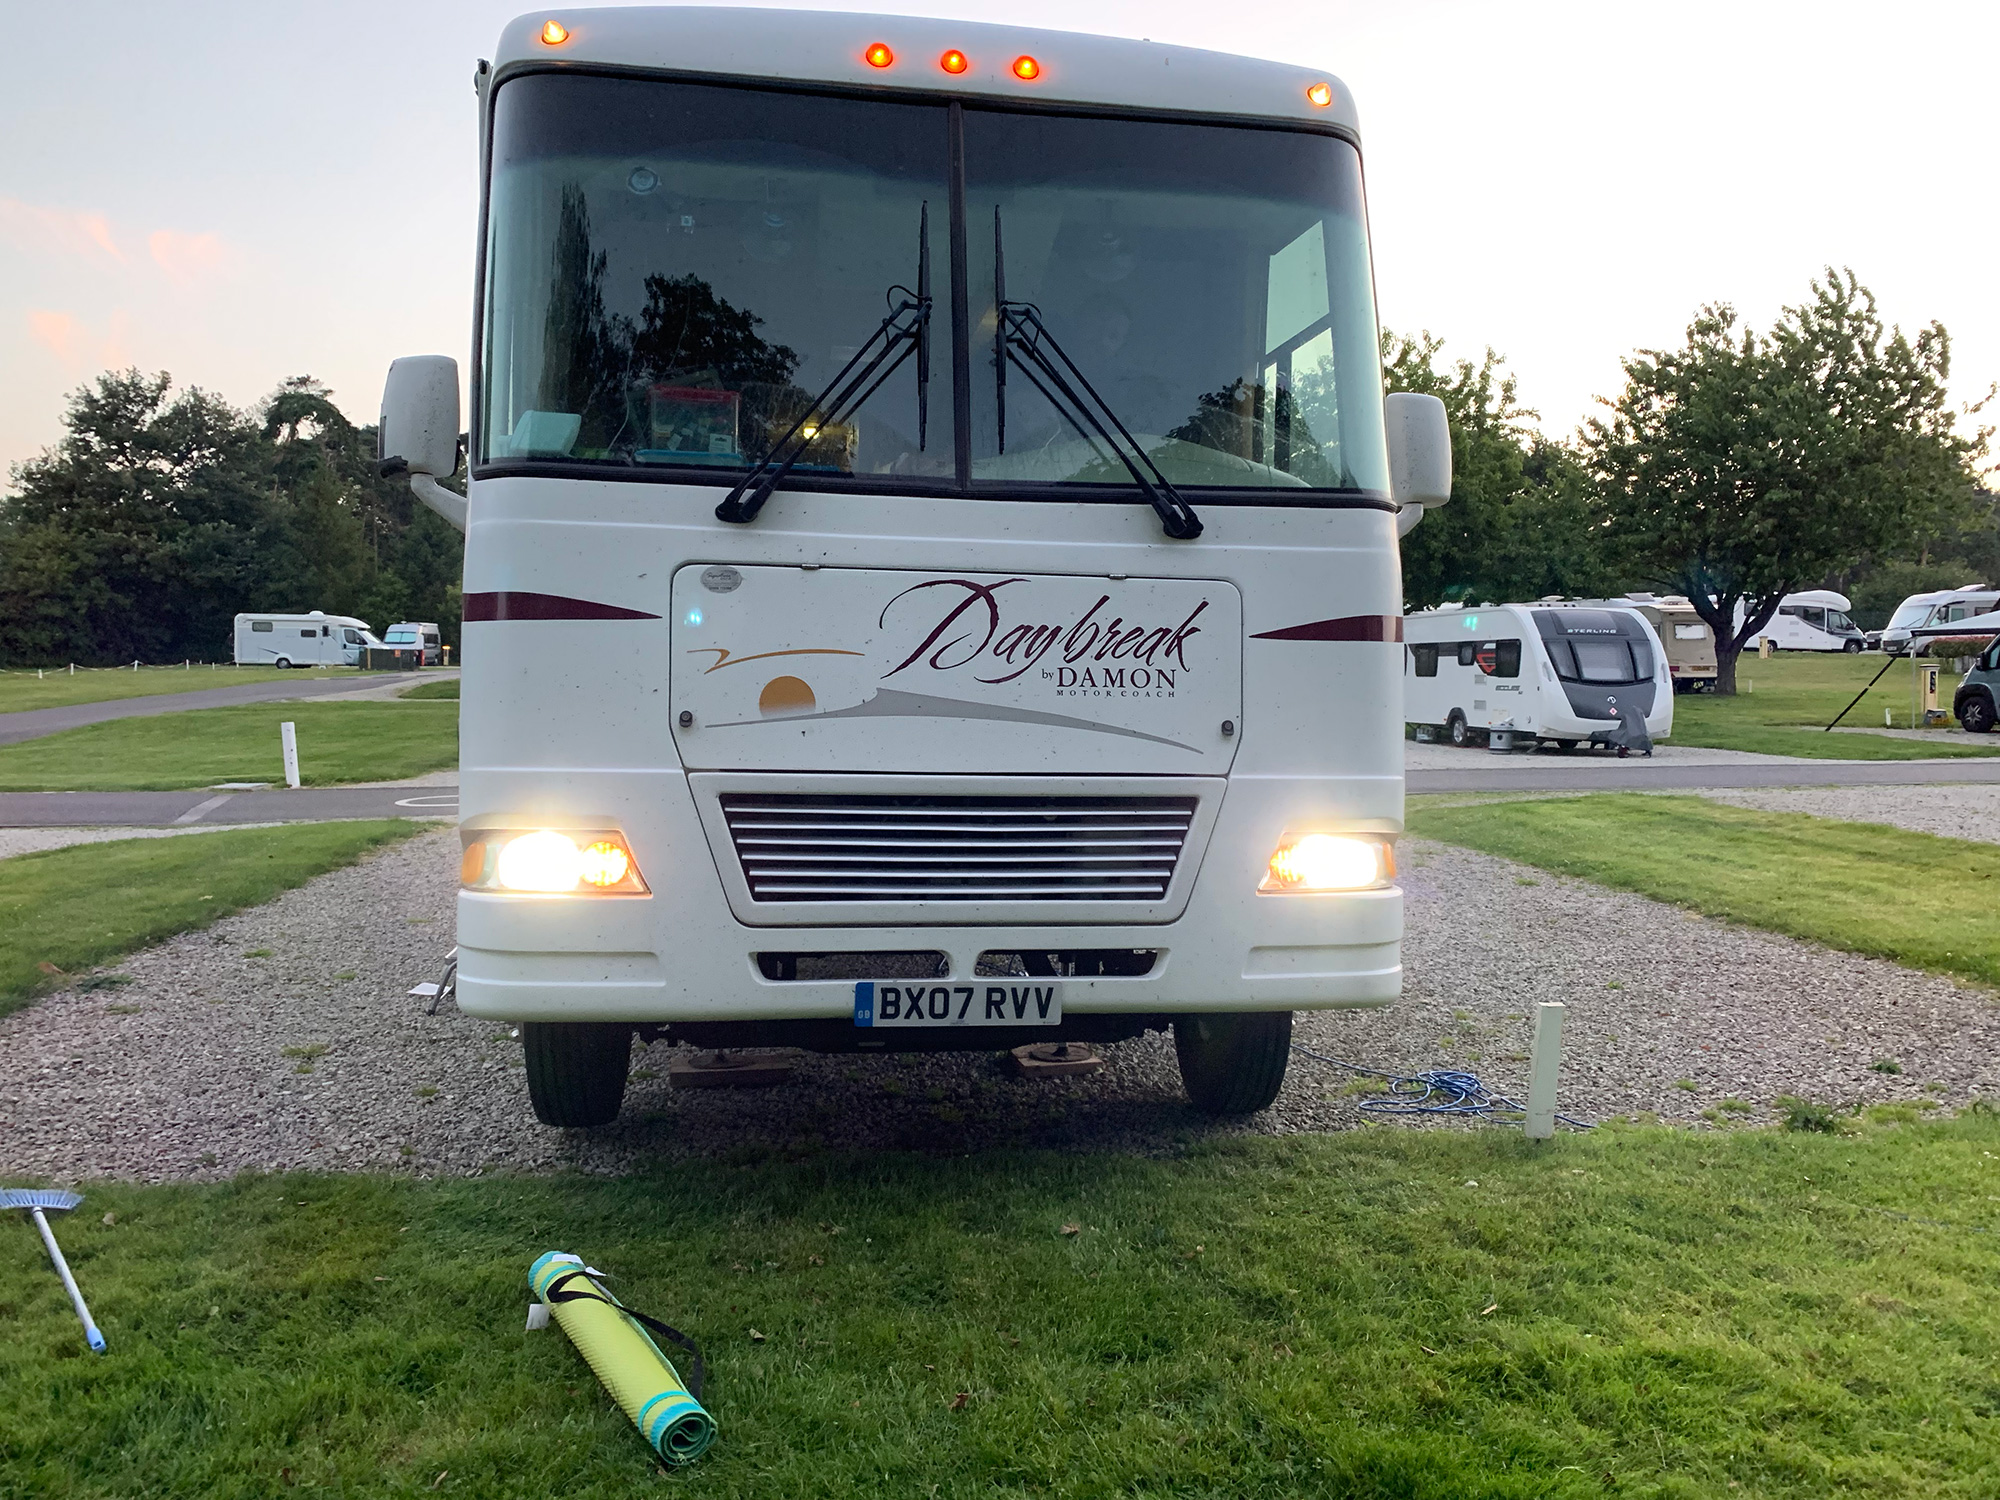
Given that we picked up Harvey in Winter, we were well aware that the headlights sucked. For the most part, that wasn’t an issue as we tended to only travel on lit roads. However, when we were trying to find places in the dark, or have long motorway journeys, the candlelit puddles of light in front of the RV were not enough.
Why do the lights on RVs suck?
A common issue with RVs is that the cables lose too much voltage on the way to the headlights, so new bulbs wouldn’t necessarily improve things. So like many others, we opted to go for LEDs. We chose to install the Phillips Luxeon LED headlight kit. We chose this kit for several reasons:
Reasons we chose the Phillips LED Headlight Kit
It’s a name brand bulb kit. I don’t mind looking for off-brand kit for the most part, but we don’t want the headlights to fail due to poor build quality when we’re abroad.
The LEDs are angled and shielded. Many LED upgrades scatter light all over the place, but this kit has separate high and low beam circuits, which are angled in different directions. This means that the regular beam pattern is maintained and we shouldn’t blind oncoming drivers.
Left and Right Hand Drive compatibility. As well as the shielding, the bulb has several mounting positions within the holder. It’s possible to rotate the bulb between positions so that we can adapt the lights for driving in Britain and Europe.
Installing the new headlights
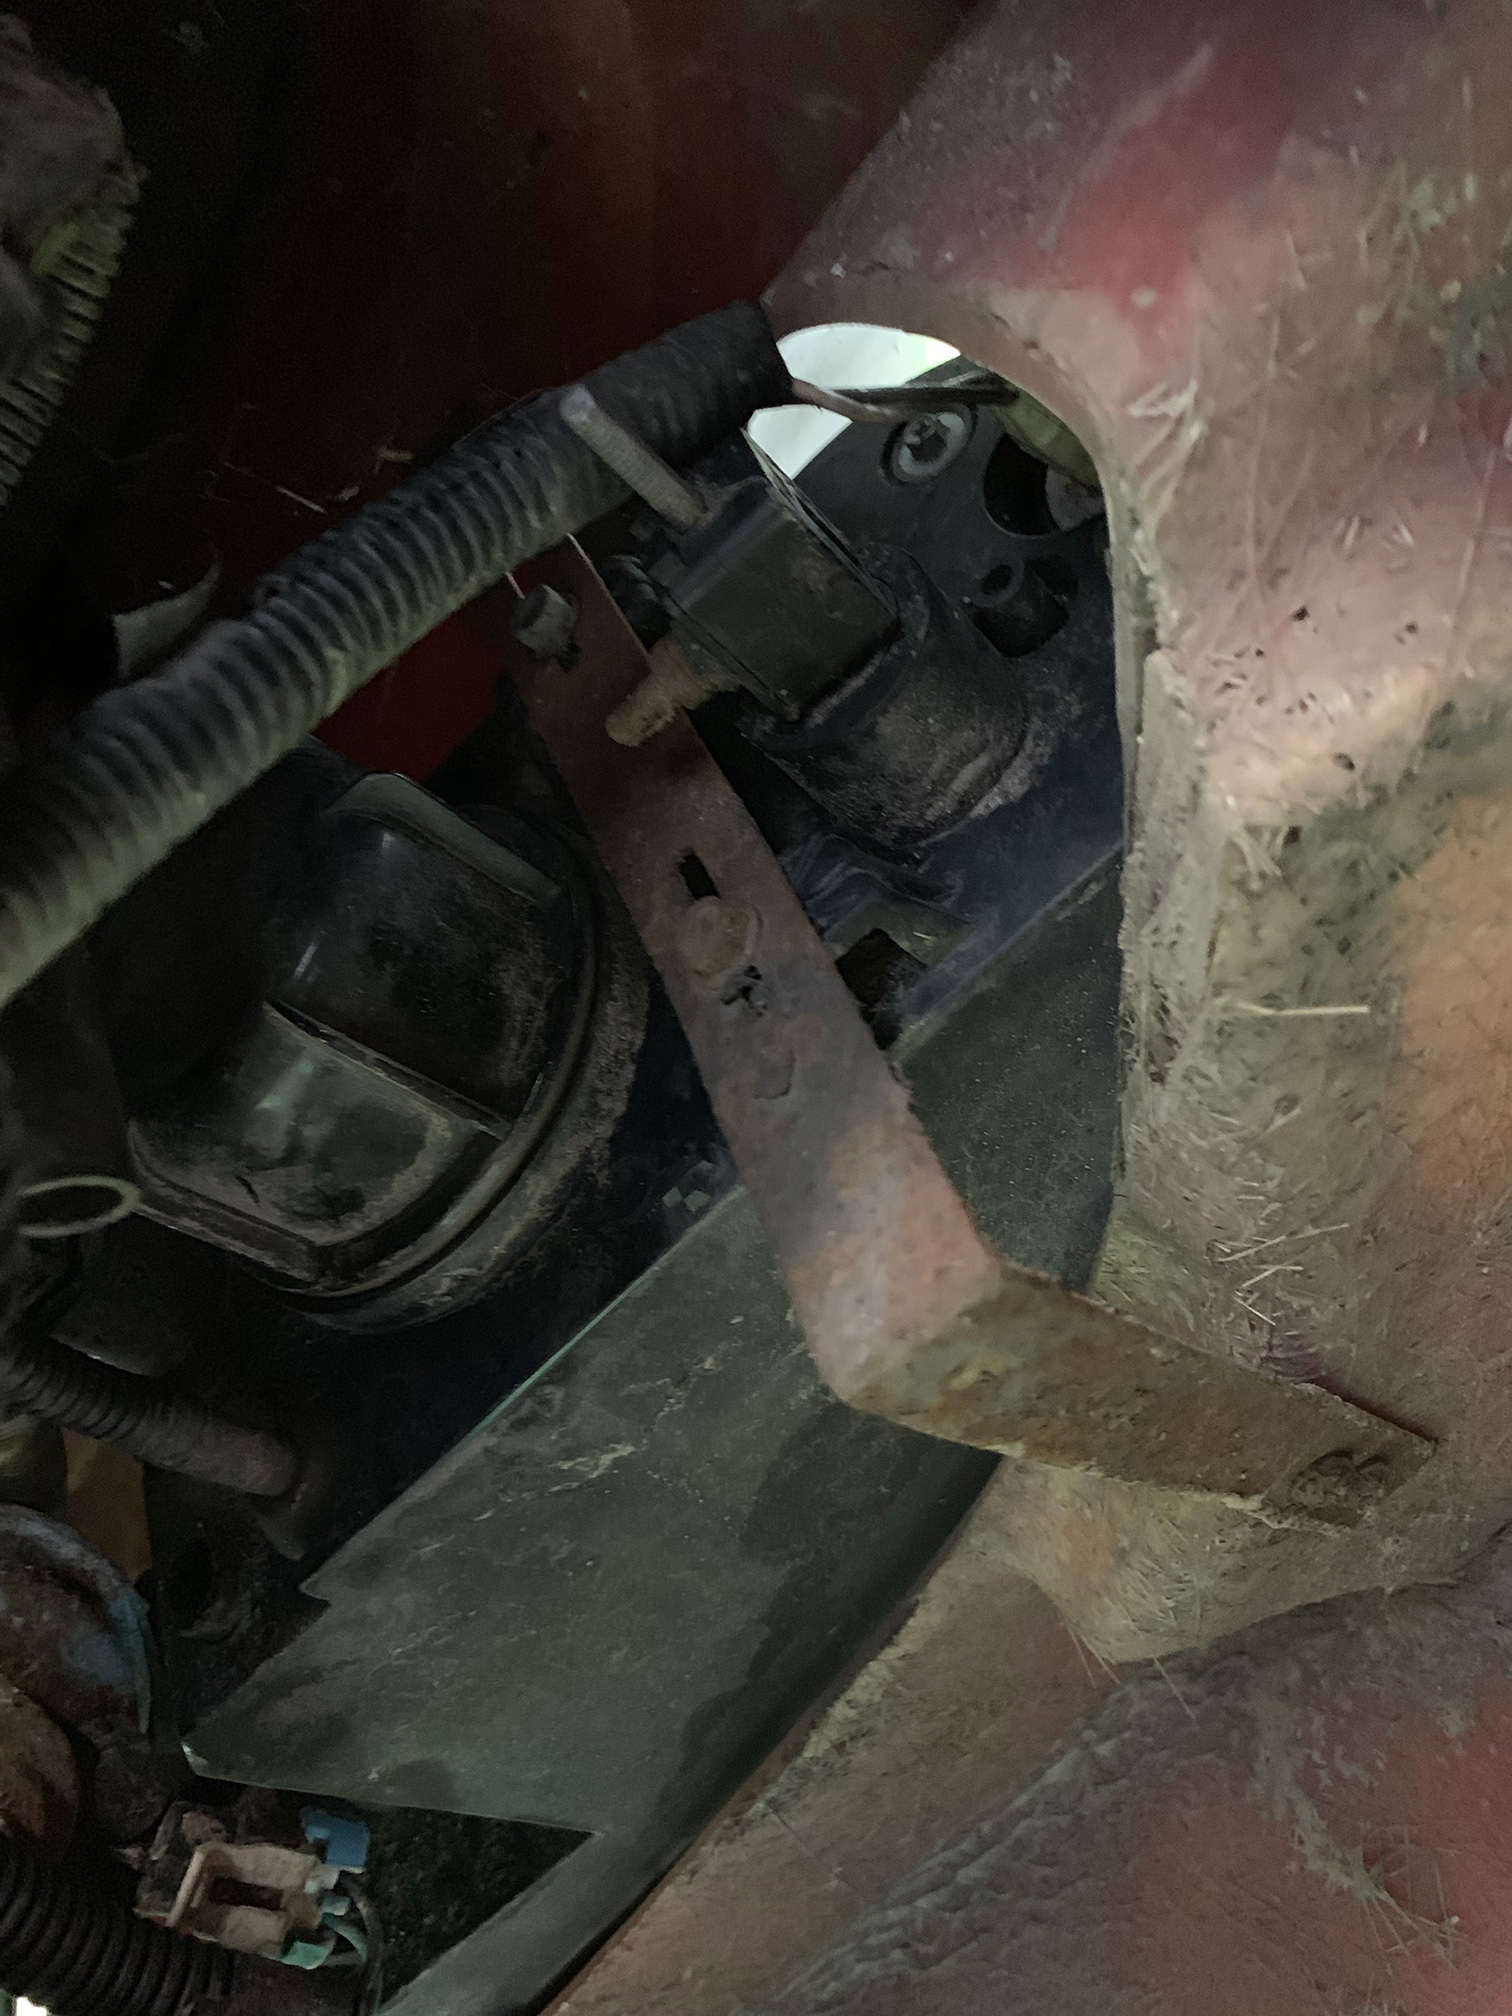
Access to the headlights isn’t great on the RV. However, we are able to use the levelling jacks to raise the front of the RV. Once we’ve done that, Karen can climb under the front bumper and access the lights.

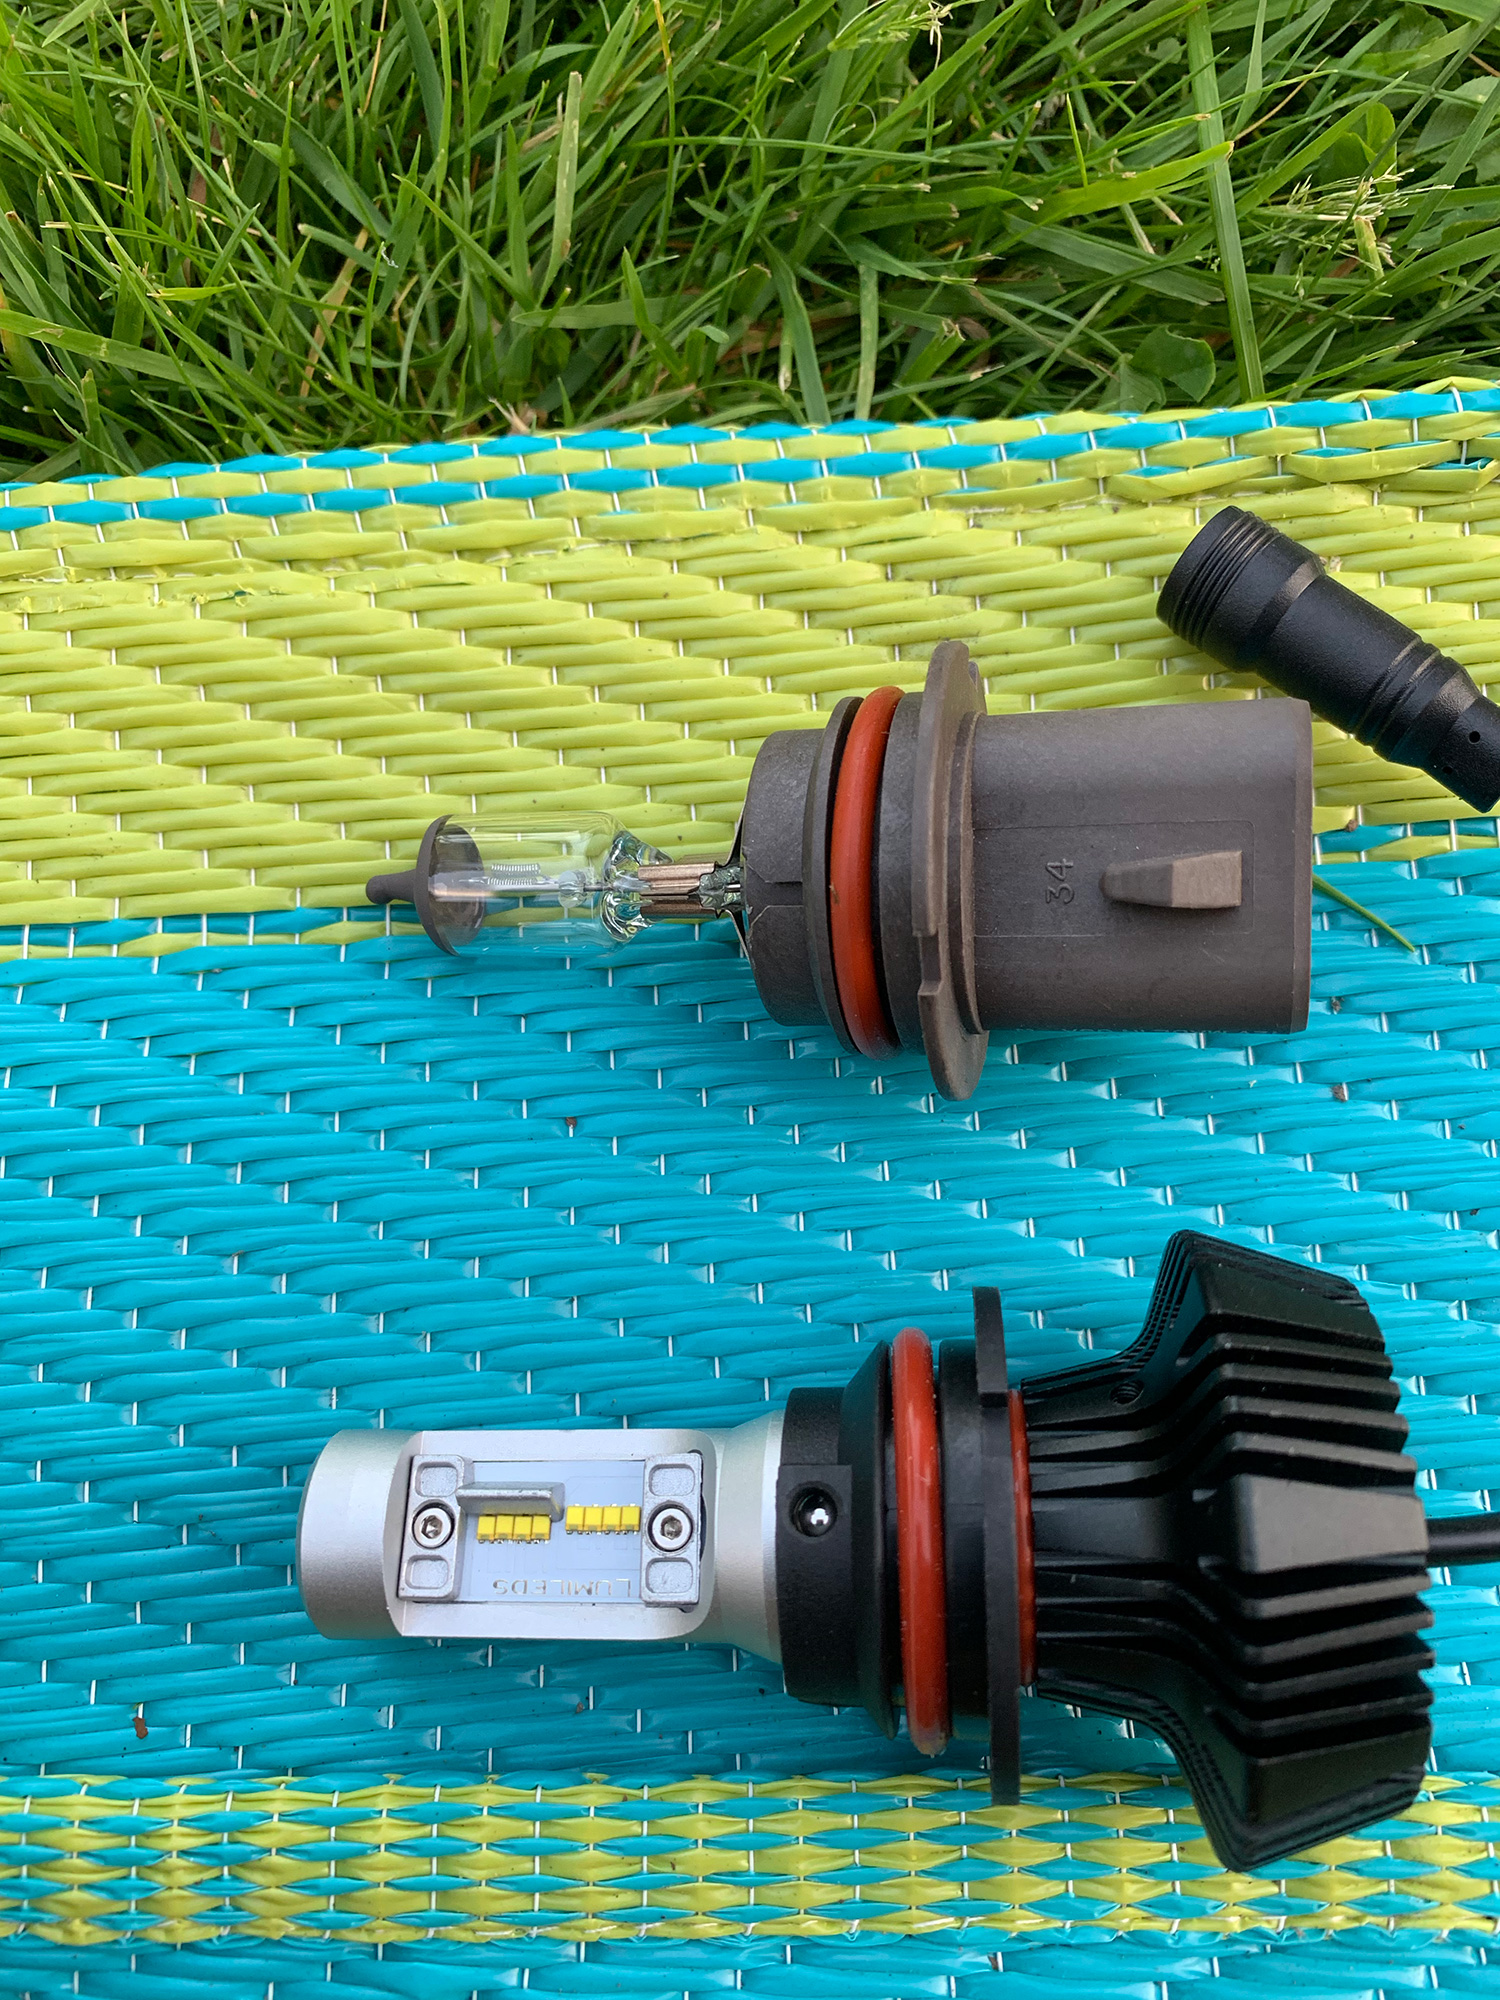
Karen can fit underneath the front of the van when the jacks are up 
New LEDs with light shields to maintain a good beam pattern 
Access to the back of the headlights 
New LED light mounted 
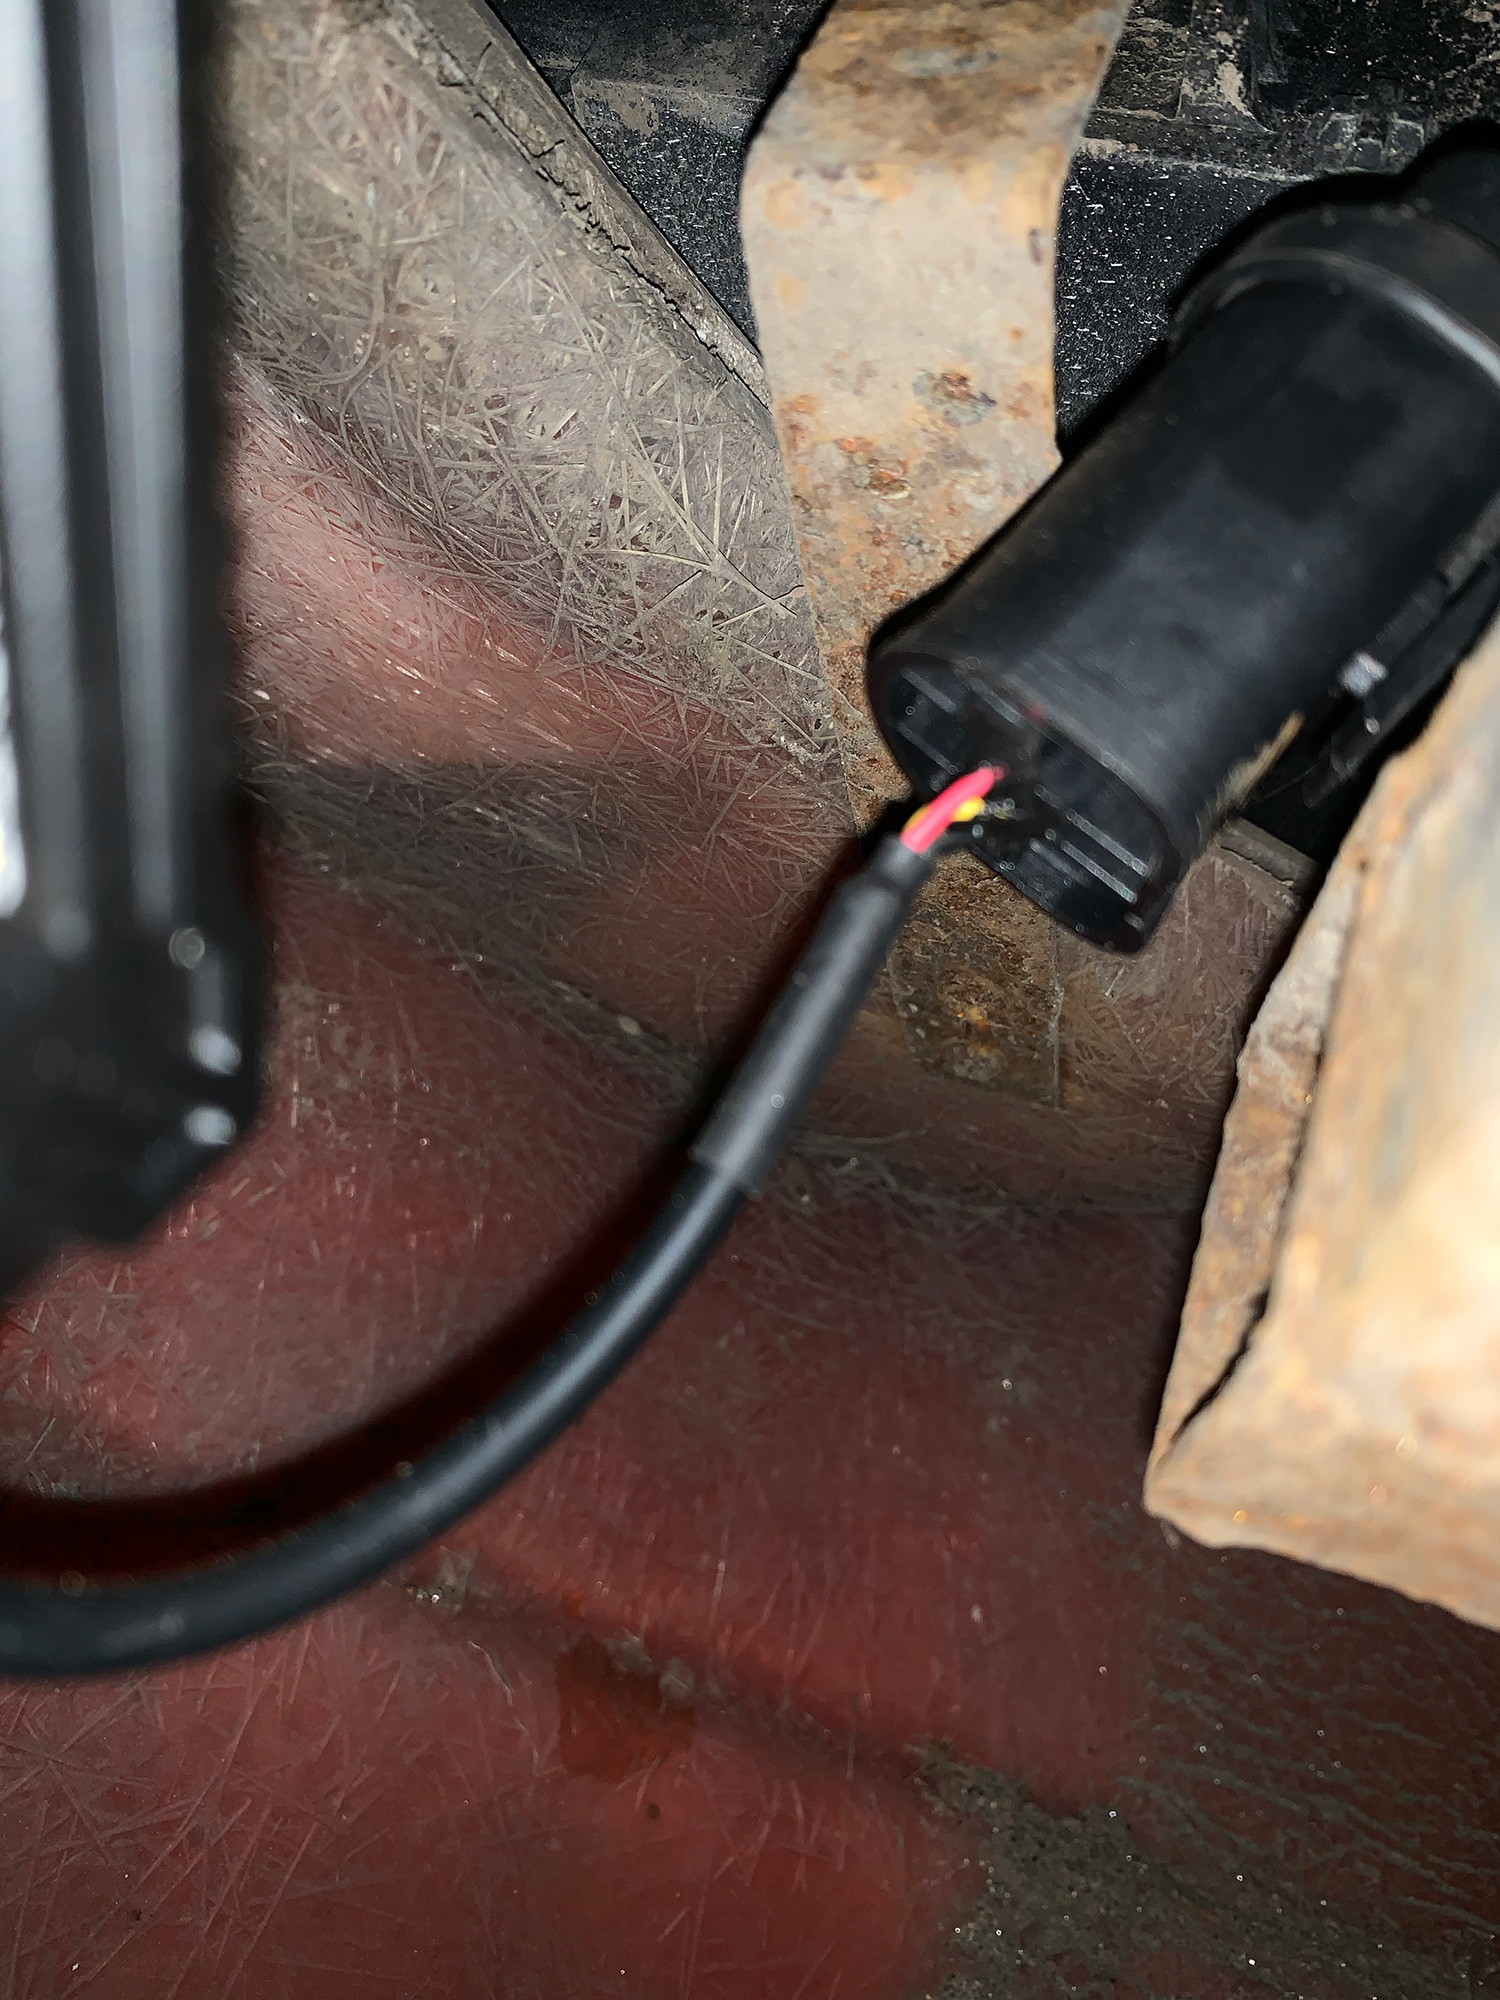
New cables wont fit behind the shields 
Incredibly bright old headlamps


Removing the existing bulbs was easy enough, but assembling the new bulbs was a little difficult. As the old bulbs had rain covers, and the new LEDs have a separate ballast, we couldn’t reinstall the covers and had to find a place to attach them. However, once both were installed, the lights started working immediately.
A little note on wiring
When we got the chance to perform a headlight alignment, we found that our headlights were not working properly! When we put the dipped beam on, the lights shone brightly, but with a scattered pattern. If we switched over to main beam, then a nice cut-off appeared. Our headlights were reversed!
Determining what was wrong
After a little research, we found that the 9007 headlight kit we’d purchased was also the same kit as for a 9004. The 9004 uses the same socket but with different wiring. Out came Olivia’s electronics kit to work out whether we had the wrong wiring

Creating a 12v source with Olivia’s electronics kit 
Success!


After rigging up a 12v source, the lights were definitely using the 9004 wiring pattern. This meant that the lights worked, but not at full brightness and obviously not switched correctly.
To fix the issue, we took the headlights back out. We scraped out the rubber sealant that was originally there and swapped the low beam/ground wires as per this image. Then we resealed the socket using a tube of Stixall which came highly recommended for the purpose.
With the wiring fixed, the headlights went back into place and worked properly – yay!
How are they?
They’ve been fantastic overall. We’ve driven through the British winter with them and been caught out in the dark on multiple occasions. Now that we have the new LEDs, we can see further along the road and feel a lot more confident.
While LED upgrades can be bad for other drivers, we’ve not had anyone flash us or complain. We’ve also used our two vehicles to simulate both being followed and being an oncoming car driver, and the lights haven’t dazzled either of us.

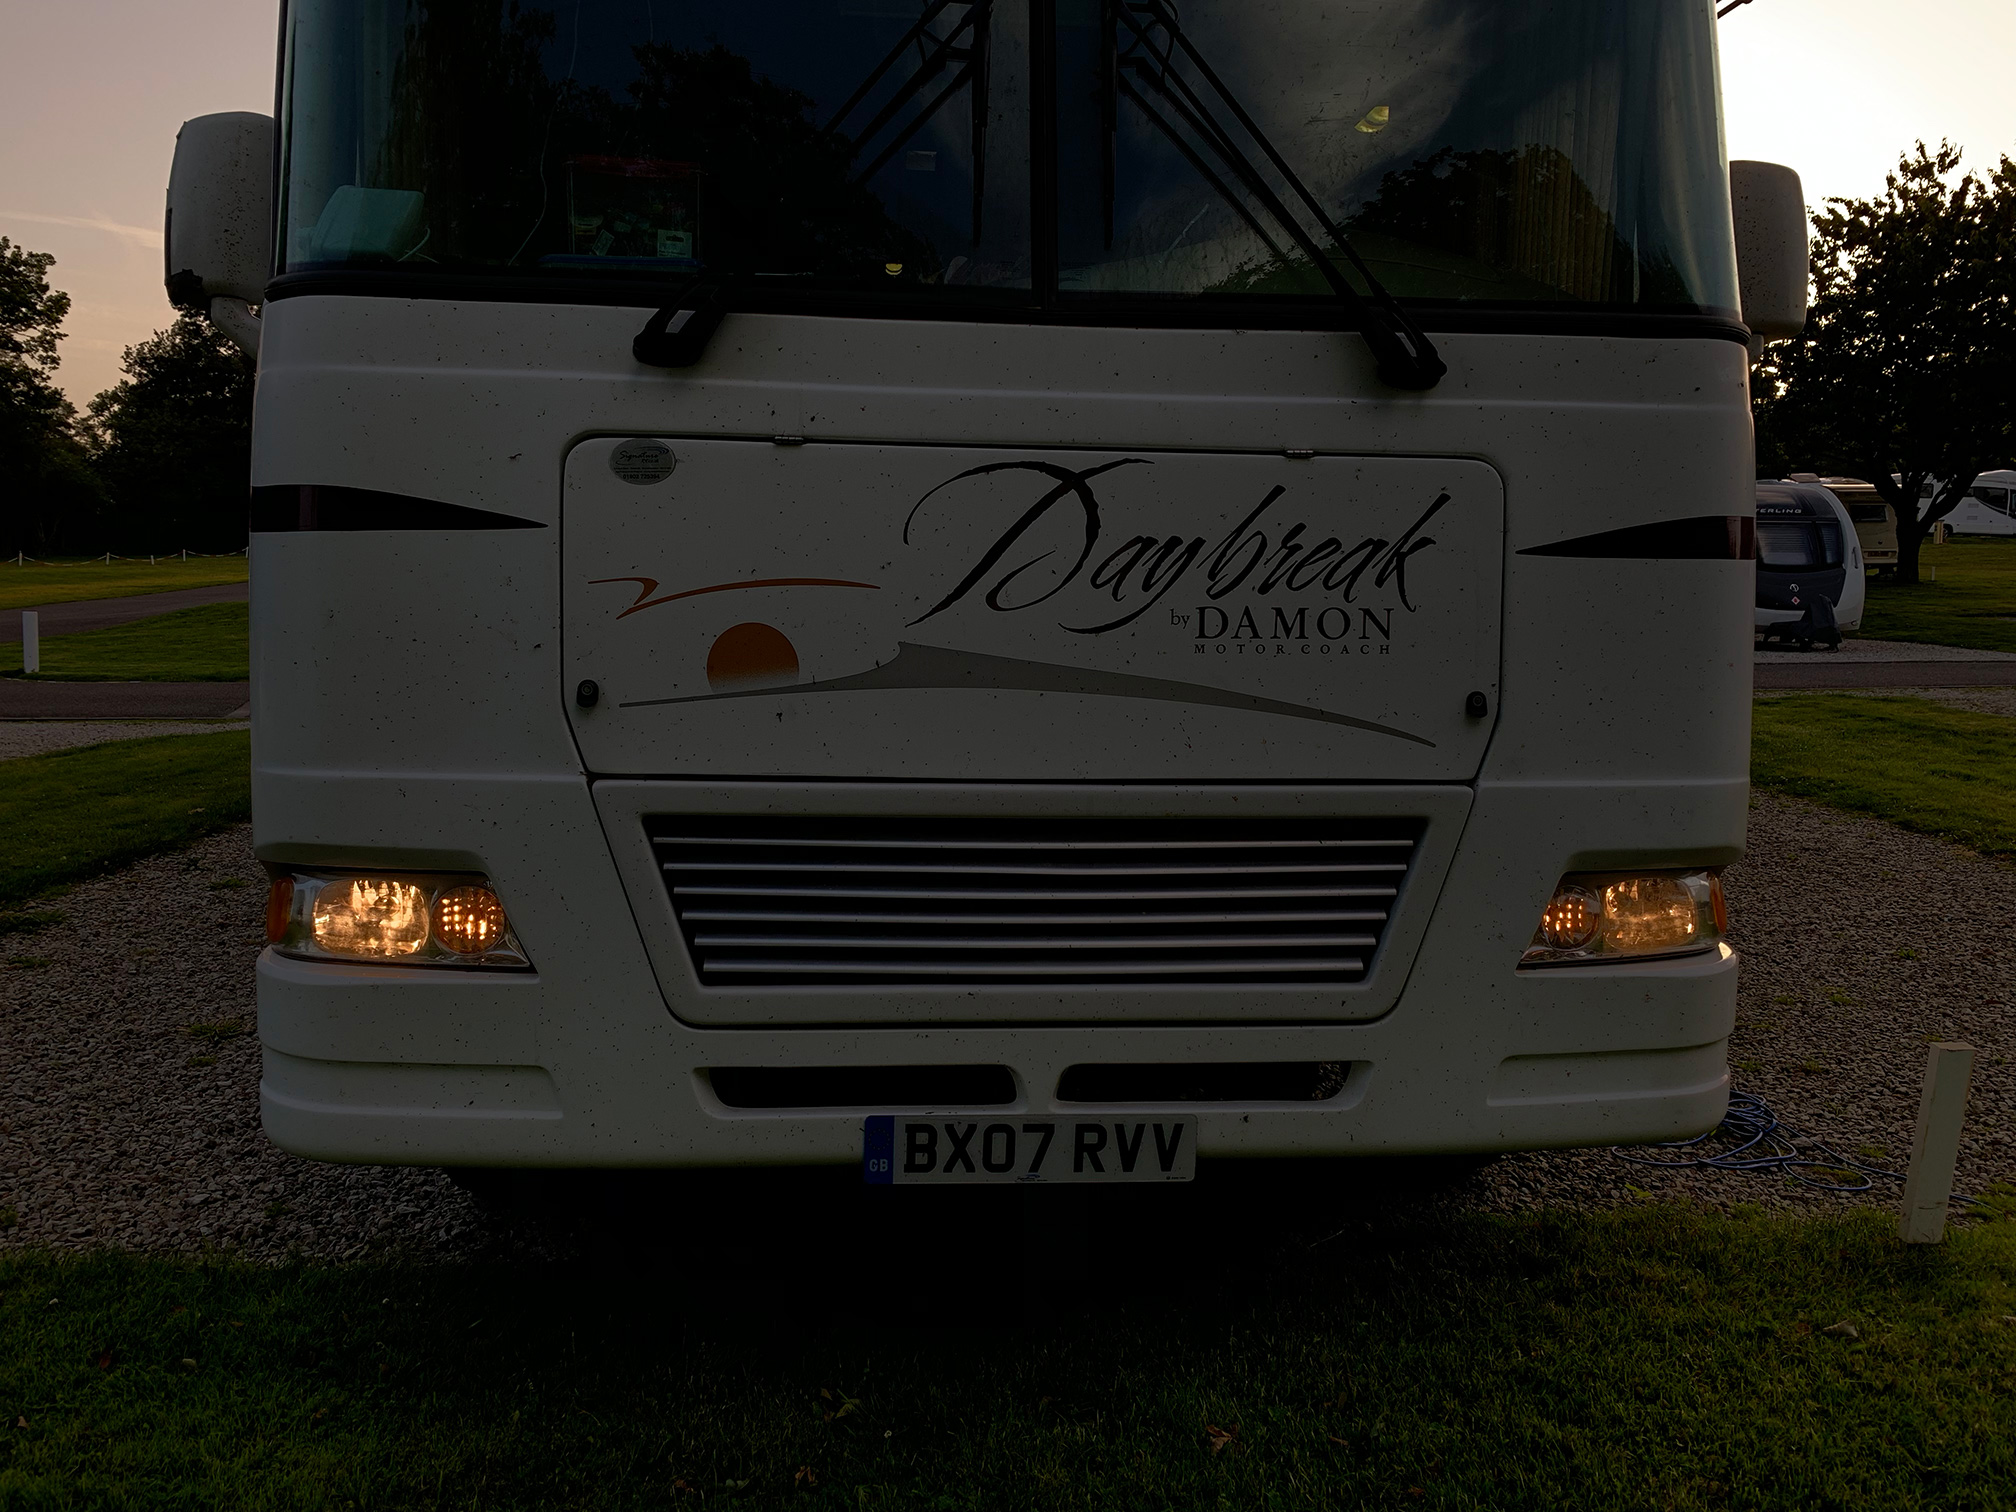
Old headlights (at dusk) 
New headlights (just before dusk)
Adding LED Taillights
We’d considered replacing the taillights already as they weren’t very bright. However, we’d dismissed the idea of changing them because we had so much else to do and there wasn’t really anything wrong. Unfortunately, while we were washing the RV we discovered that the stop/tail lights had started to melt!

Melted on the outside 
Very melted on the inside


We’re not sure exactly what caused it, but the bulbs inside were probably too hot for the enclosures. If we left them the way they were, then we’d have ended up with a fire. So the hunt for replacements was on.
What taillights to use?
In the USA, where our RV came from, it would have had two stop/tail/turn lights at the rear. Unfortunately, both of these lights were red, and so weren’t any use in the UK. When the RV was converted to UK rules, one of the red lights was changed to be just a stop and tail. The other was swapped to a permanent amber indicator. This reduced the number of signal lights at the back of the van.
We’d thought about installing LED combination taillights, where they act as stop, tail and indicator lights. This is achievable because LEDs are so compact and bright, that both amber indicators and red stop/tail lights can be incorporated into one unit. This would restore the original number of signal lights on the back of the van, and hopefully increase our visibility.
Our RV uses 110mm (4.25″) round taillights, mounted in rubber grommets. There are lots of high quality LED replacements in the UK but most are too large to fit the holes. We managed to find a set of lights which came with chrome outers on Amazon though and decided to try them.
Removing the existing lights
The lights are mounted in rubber grommets, so in theory, all we needed to do was lever out the existing lamp. However, they’re a very tight fit! We used plenty of WD40 to lubricate the rubber grommets and a combination of screwdrivers and trim removal tools to extract the lamps.
With the age of the lights causing brittle plastic, all of the lamps got slightly damaged as we removed them. Though the melted taillights were useless anyway. At this point, we just had to hope that the new lights would work OK!

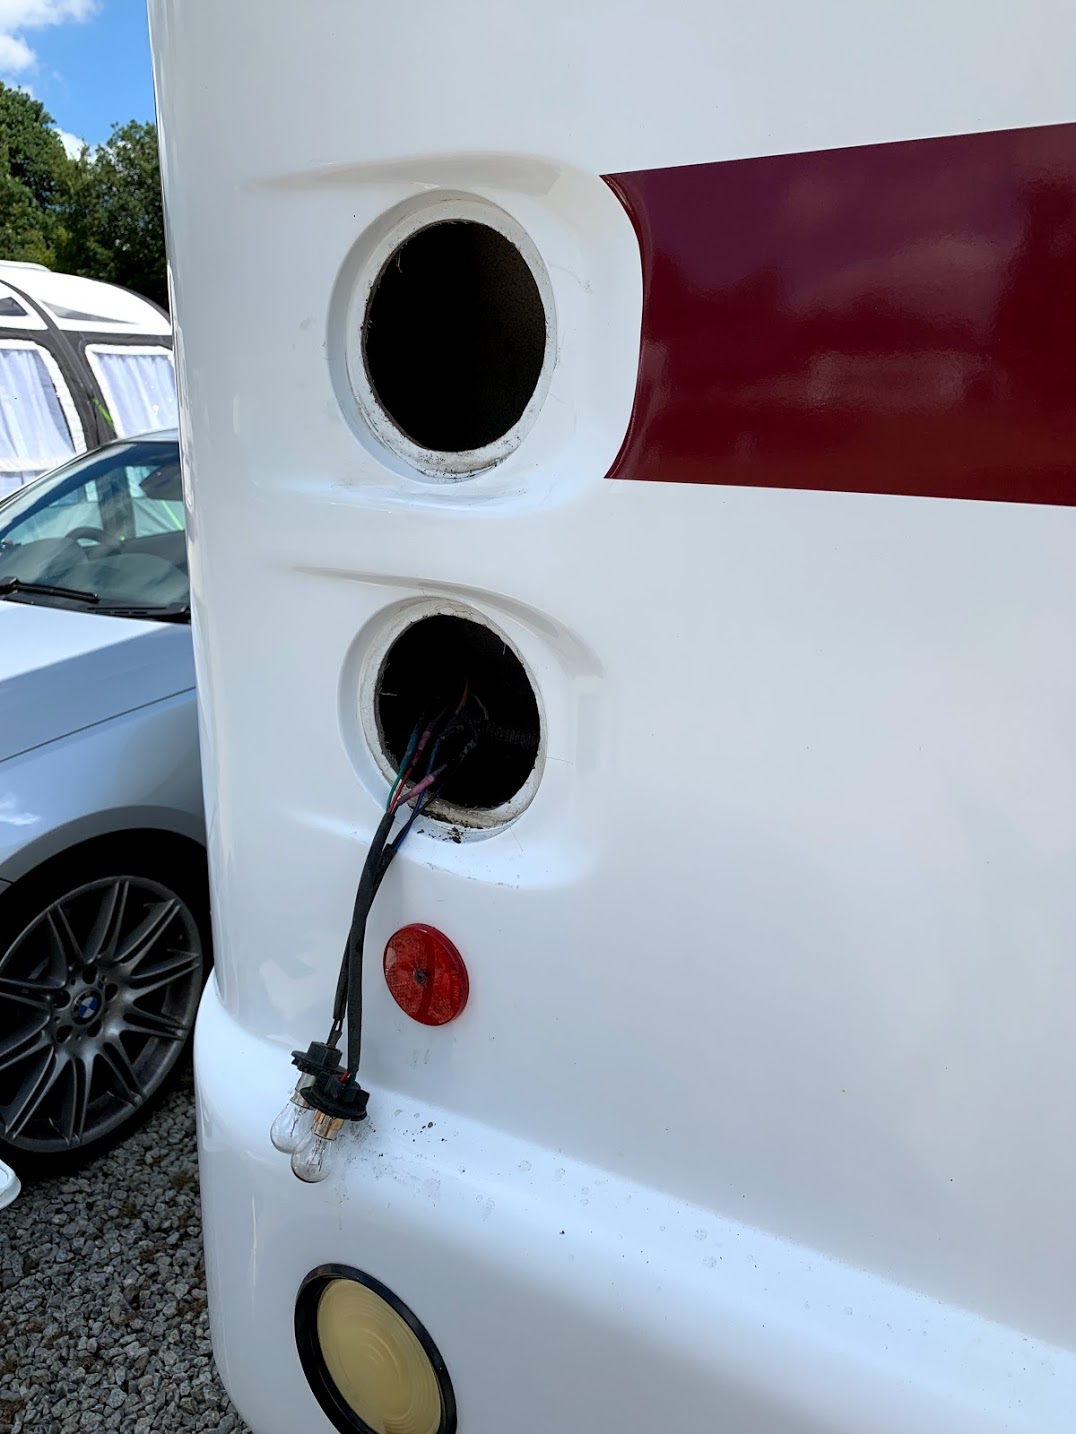
The old lamps and wiring – there’s a bunch of nasty wiring hiding in there from the UK conversion!
Fun with wiring
Of course, nothings straight forward. Not only are American standard wire colours different to the UK, but there were also a lot of changes to the cables for when they were converted for UK lights.
We decided that for the moment, the best thing to do was add to the existing wiring. That way, if everything went wrong, we could just strip back to the existing wiring and new, regular lamps. Finding out which wires did what was fun though, as we still don’t have a working multimeter! Unlike bulbs, LEDs only work when wired with the correct polarity, and the UK lamp conversion had a common ground wired to one lamps positive input and another lamps ground!
Still, we changed the wiring on one side of the van, and Karen verified that the lights worked while I operated the controls at the front of the van. After that, we wrapped everything up to create a pseudo loom and keep everything protected, then repeated the process on the other side.

Quickly assembled wiring loom for test install

We did have to add some resistors in order to keep the flash rate correct. We could change the relay to an LED compatible one, but that might cause other issues in the lengthy wiring run.
Another issue we had was that we didn’t have enough of the correct colour wiring. For the moment we’ve wired them up with suitable cable along with tape to identify the appropriate colour. However, we’re going to experiment with different resistors, and then we’ll replace the cabling and improve the connections too.
Installing the new lights
The new lights weren’t a perfect fit, and the holes in the rear cap of the RV weren’t all the same size. This meant that some of the lights fit easily, and others didn’t. We ended up using a small file to enlarge and smooth a couple of the holes in order to get the lamps to fit.
How are they?
Pretty good. The indicators flash well, though a couple of the individual LEDs stay on longer than the rest.

New tail lights give us extra stop, brake and indicator lights 
Old lights vs New lights


The taillights are very directional. The LEDs sit at the bottom of quite deep cones which focus the light backwards. If you’re directly behind or just to the side, then they are nice and bright. But if you’re a bit further off then they aren’t as bright, though they are still visible. We also have marker lights on the top and sides of the RV, so those are the lights that people should see if they’re at steeper angles.
When we had a proper drive with Karen following, she was most impressed by the new indicators. Previously the indicators were a single lamp, but now with double the number of lights and the concentrated brightness, it was much easier to see when I was signalling than it had been before.
Update on condensation
Once we’d had these installed for a few weeks, one of the lights started to get condensation in it. We checked it over and all of the rubber seals were in place, but we didn’t have much luck getting a return with the seller.
Once the winter arrived, this light started to let in water and eventually some of the LEDs started failing. We found a different seller offering the same lights, and ordered a replacement pair.
When the new rear lights arrived, we took all of the lights out, and cleaned up and wrapped the wiring. Then we tightly wrapped the edge of the lights where the back meets the lens with outdoor rated duct tape. We also wrapped the cable entry point with tape. Hopefully this will prevent the new lights from admitting water, and we haven’t seen any condensation yet.