
One of the things that was missing from our RV was a vent fan. This was a problem once the temperatures rose in places where we couldn’t run our air-conditioning. We decided to purchase and install the MaxxAir MaxxFan Deluxe to create some airflow in the van. Since our install, we’ve had a new fan under warranty, and have updated the review to reflect that.
Why did we choose the MaxxFan?
Many people go for the Fantastic Fan. We’ve heard almost nothing but good things about them, and they have great features like rain sensors etc. However, what we didn’t like about the Fantastic Fan was the price (which is very high in the UK), and the fact that you need to add an additional rain shroud as well.
In comparison, the MaxxFan appeared to be a great purchase. Much cheaper, a similar feature set, and a built-in rain shroud! We read some reviews, watched some installation videos, and decided it was the fan for us.
Installing the MaxxFan
We decided to install the fan ourselves. This was done in two stages because we had an extra hurdle to clear before we opened up the ceiling.
Finding some power
Unlike many RVs, our living room vent didn’t have any power cables running to it. Consequently, we were going to have to source 12v 5a power from somewhere and run it through the ceiling.
After a lot of thinking and research, we took a long fibreglass pole and threaded it between the ceiling and the insulation. We managed to get the pole all the way behind the microwave, where there was already a lot of wiring.


After a little investigation of the cables, we spliced into one of the lighting circuits. I know that a lot of people don’t recommend using the lighting circuit. But the one we chose has quite a thick cable and used to run 8 halogen bulbs. Now that it runs 8 low wattage LEDs, there’s plenty of capacity to spare.
All that glitters is not gold
Now, we did make one mistake here. When we snaked the wires through the ceiling, we had to bundle the ends so they didn’t get stuck. Unfortunately, we didn’t unbundle them when we spliced into the lighting circuit.
When this happened, we got a nice little spark! We quickly realised our mistake, unbundled the wires and reconnected the lighting circuit. Everything seemed fine at first, the lights worked, and our fuse detector didn’t show a break. But when we test connected the MaxxFan it just beeped at us. We couldn’t work out what was happening, as the lights were all working.
However, on closer inspection, if we turned on all of the lights, they weren’t running at full brightness. When we opened the fuse panel with all of the lights on, there was the glowing light telling us that a fuse was blown! The current that is used to check the fuse state, while not enough to light a halogen bulb, is enough to light up LEDs. Until you put enough load across the circuit, the fuse panel can’t work out that the fuse has blown. Fuse changed, lesson learned, and MaxxFan working as expected.
Hole on the ceiling
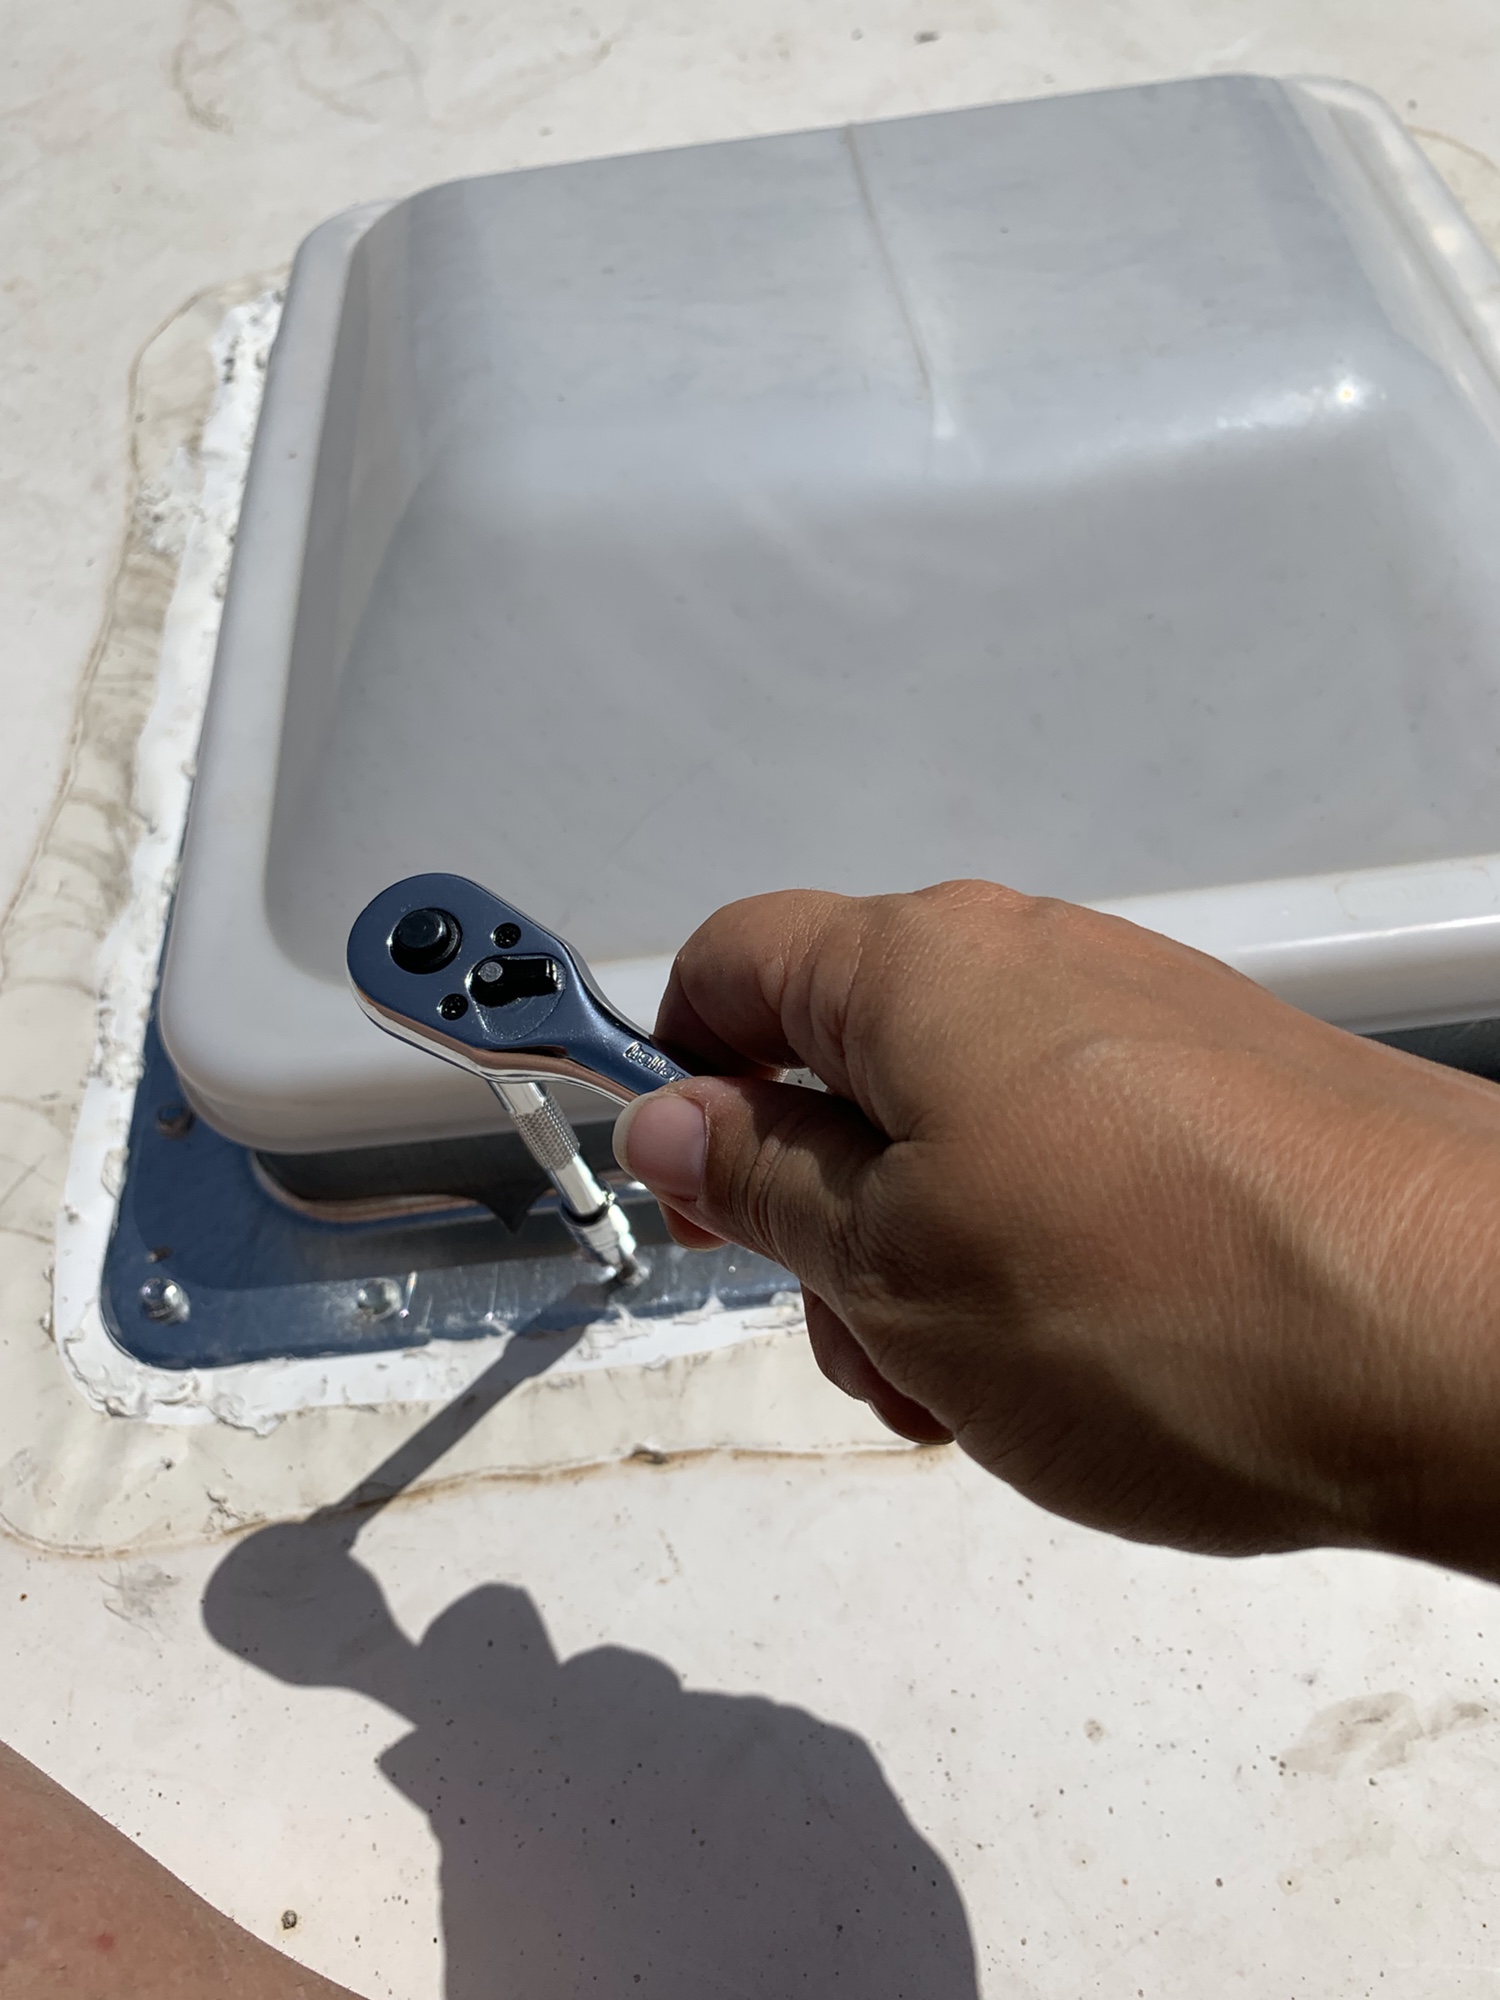
The next step was to remove the existing vent. We managed to pick one of the hottest days of the year to do this. But Karen went up on the roof and scraped away all of the existing Dicor, then unbolted the old vent.


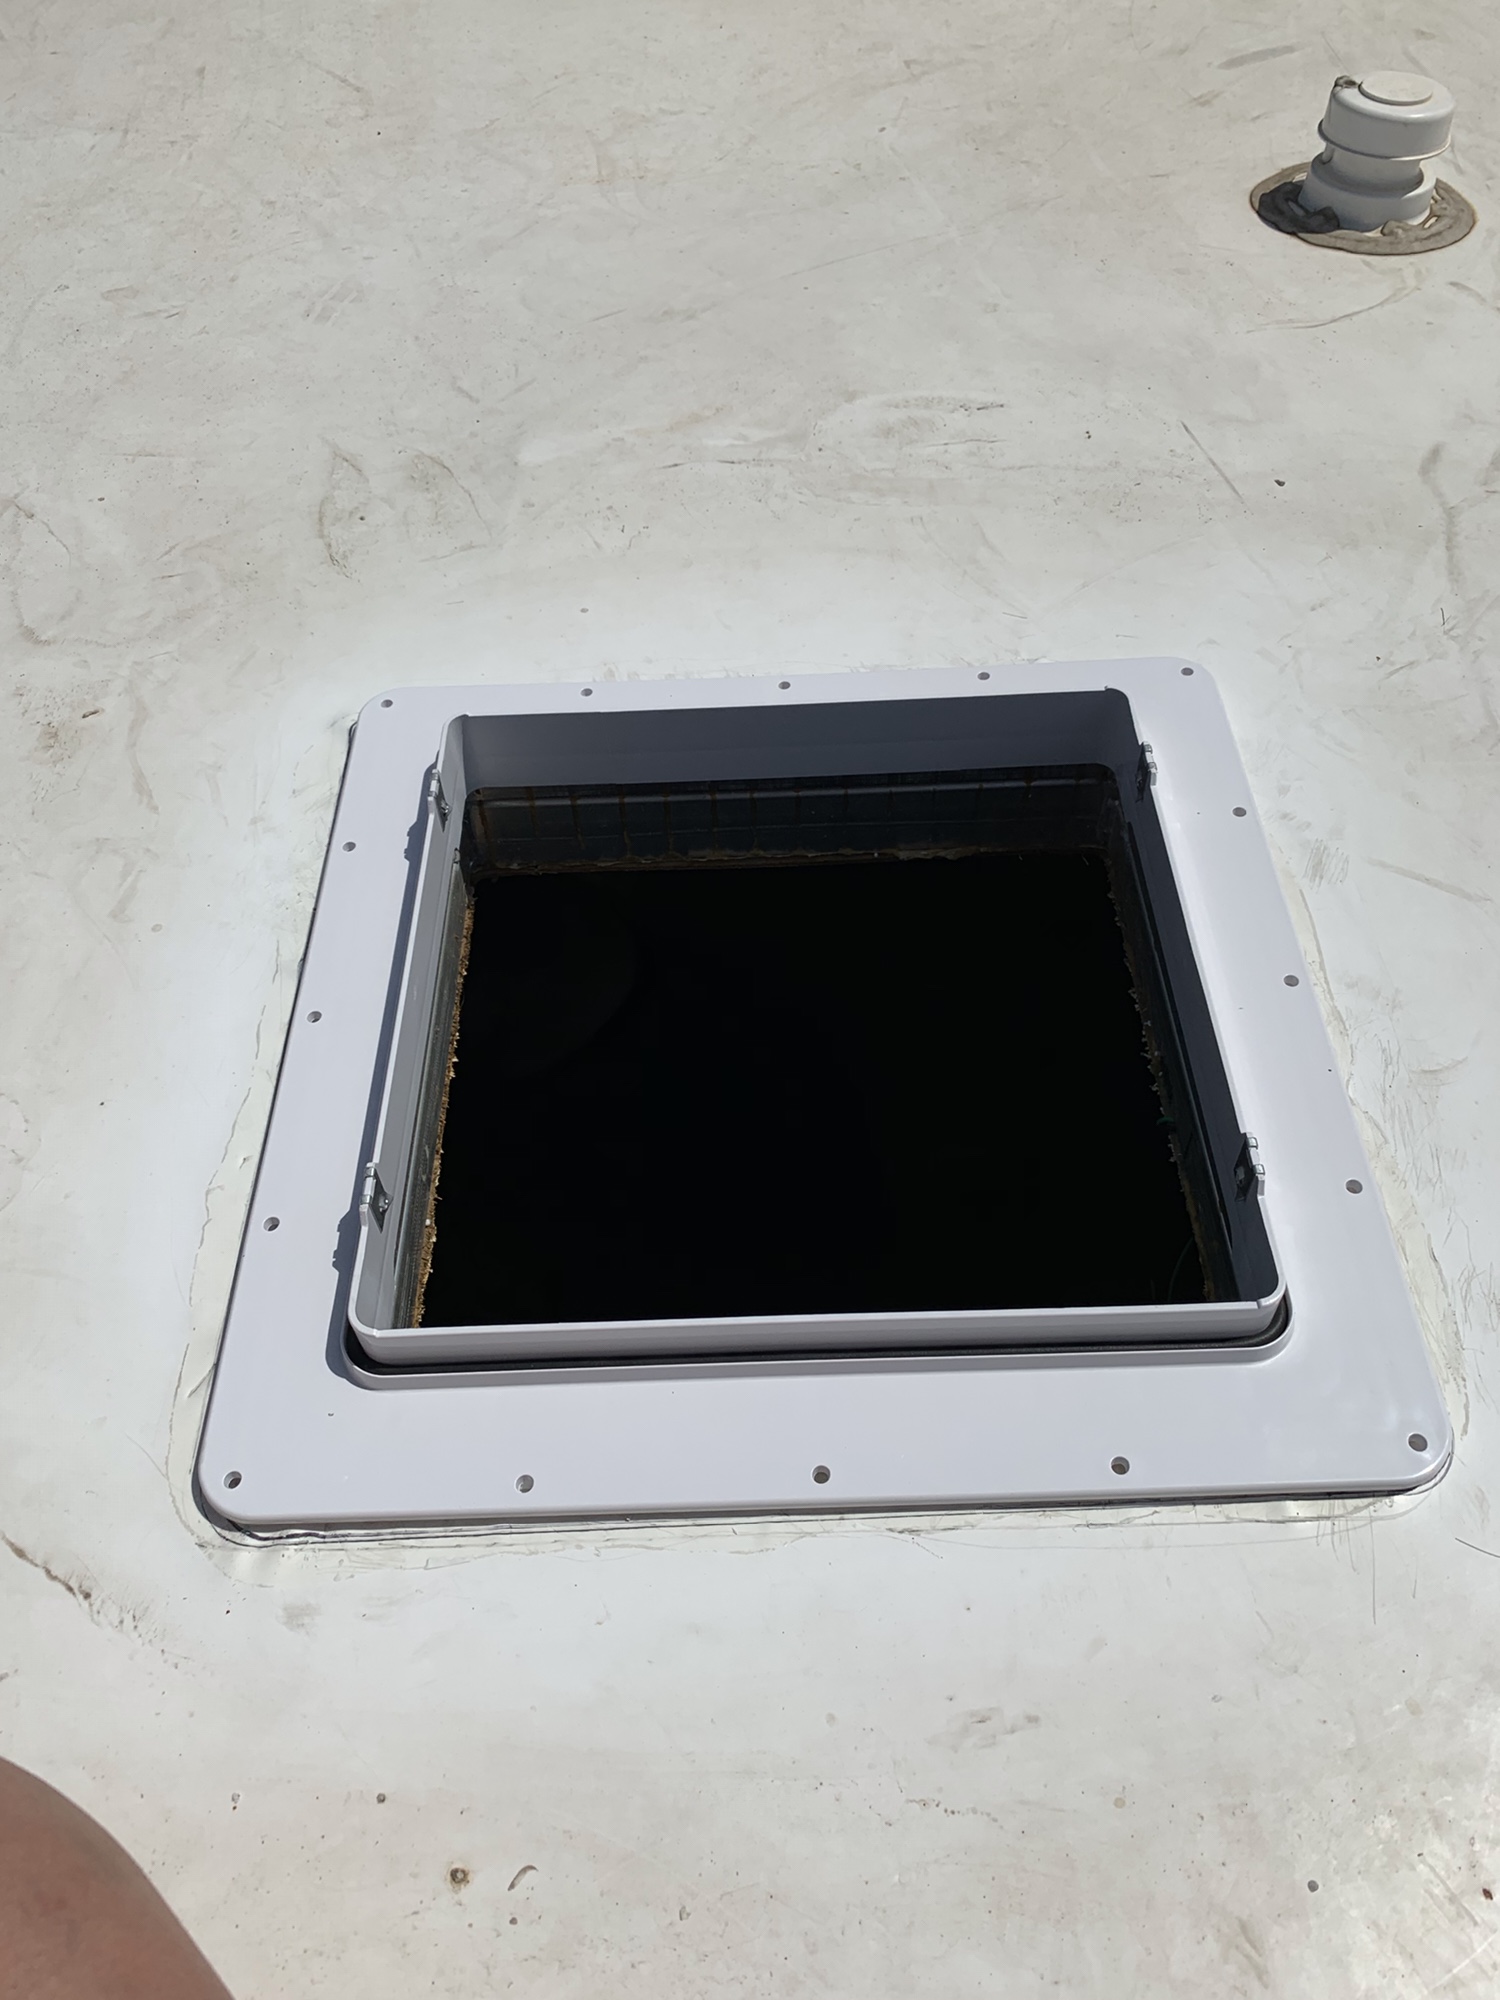
After the old vent was out, we cleaned the roof area with some surgical spirit. That should ensure the rubber is clean and can bond properly with the new Dicor.
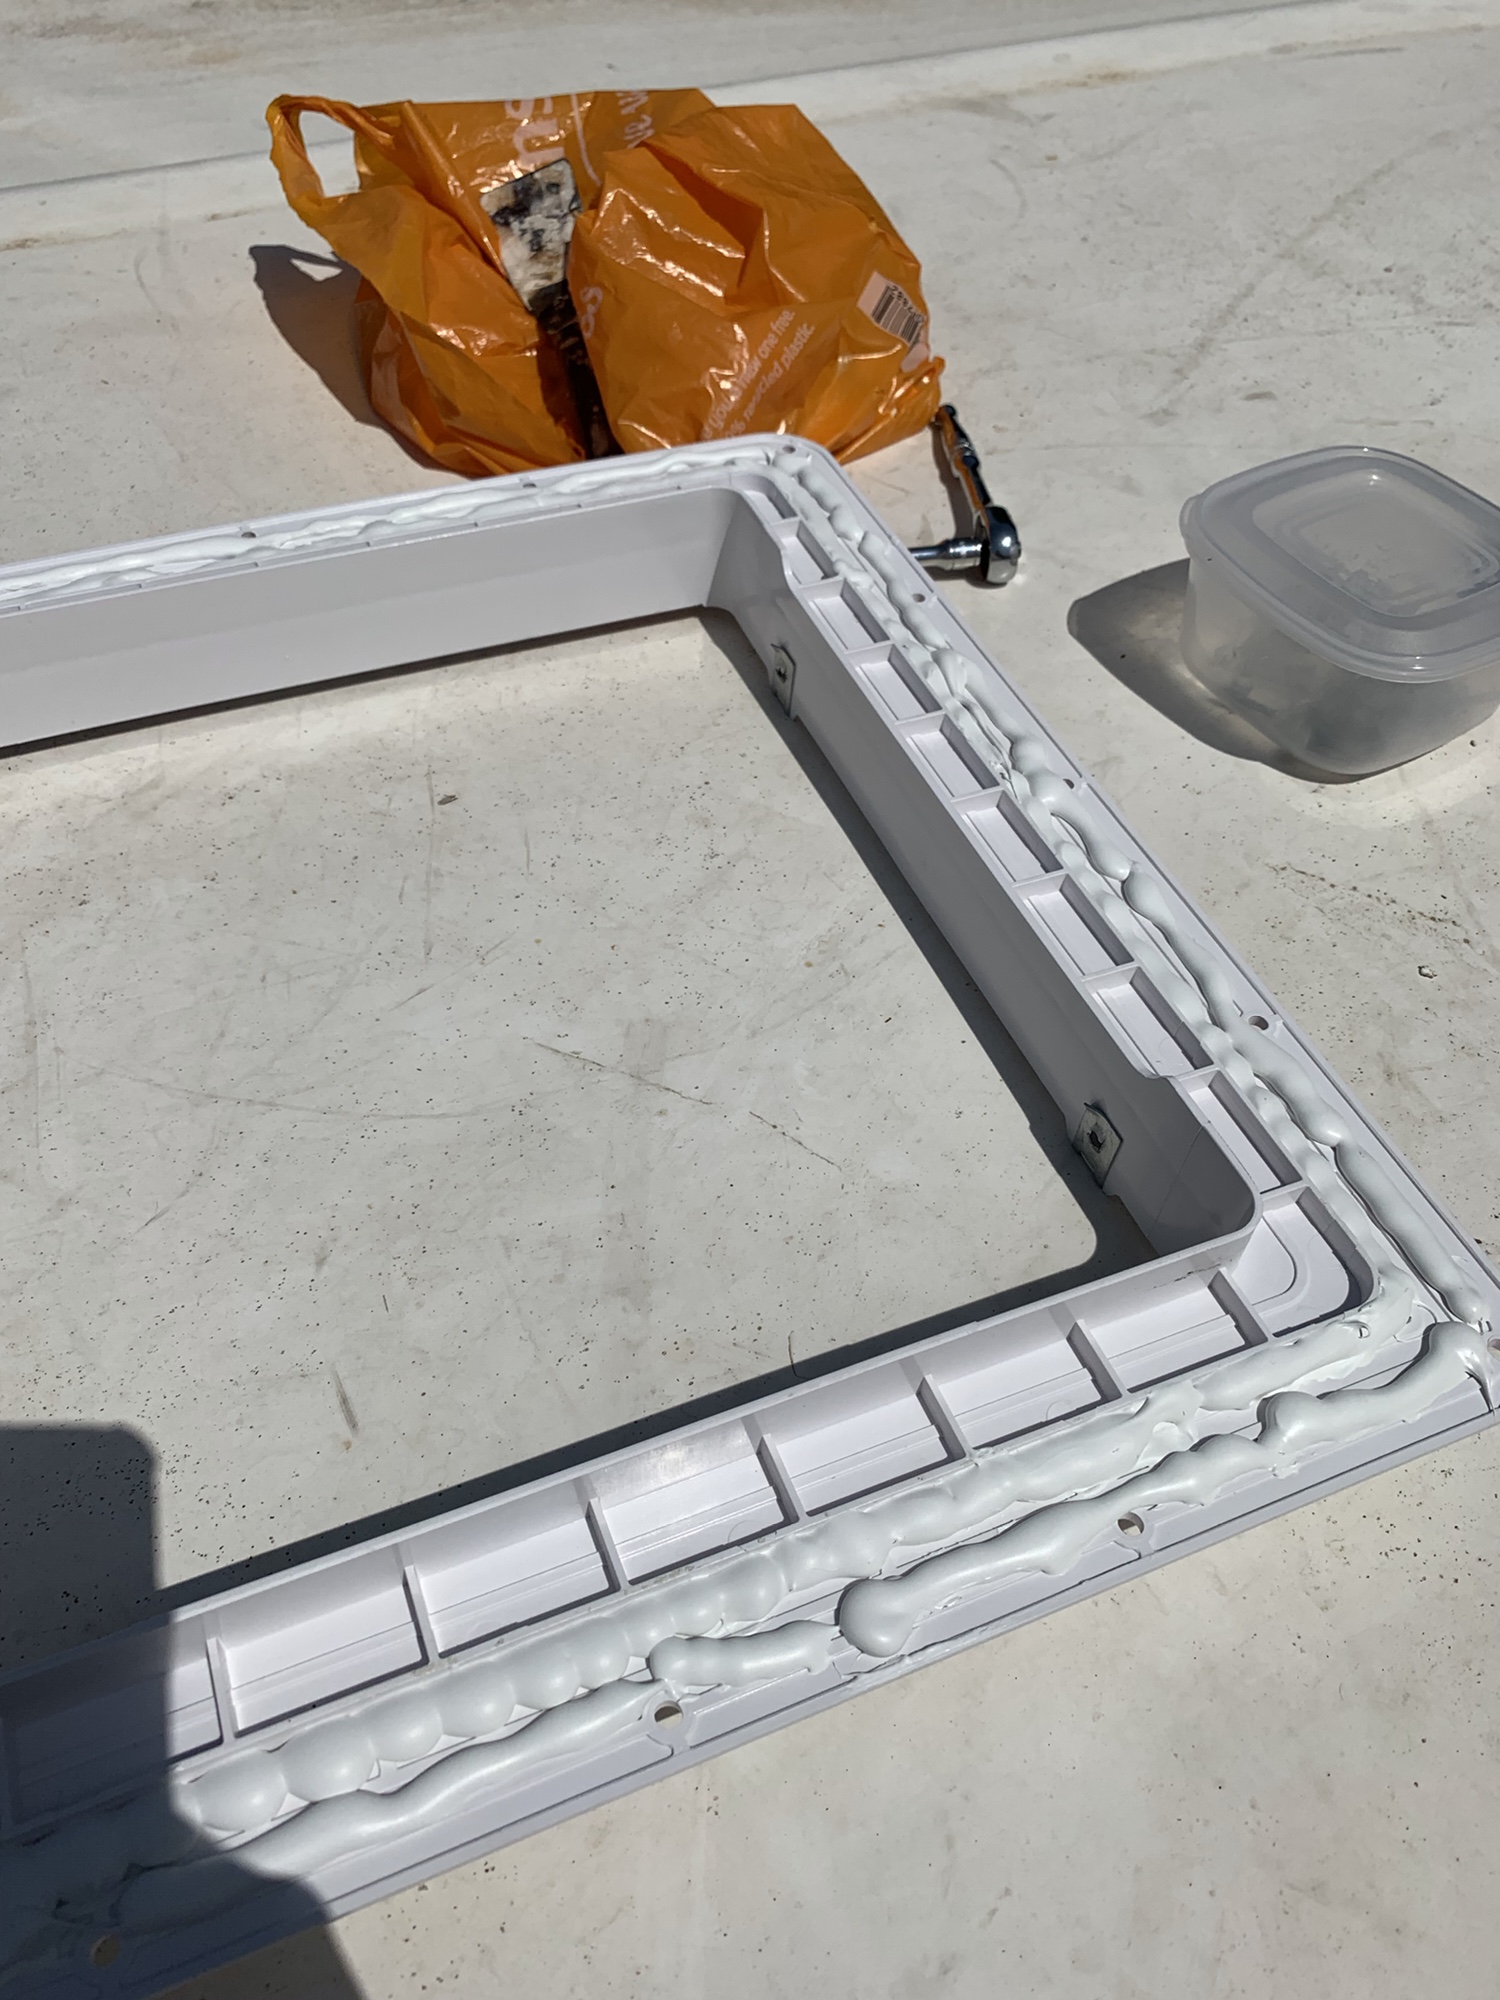
We then ran a bead of non-levelling sealant around the bottom of the new fan mount and stuck it into place. Making sure to get it as square in the hole as possible. We followed the instructions and ensured that the fan mounting brackets were to the sides, and not front to back.

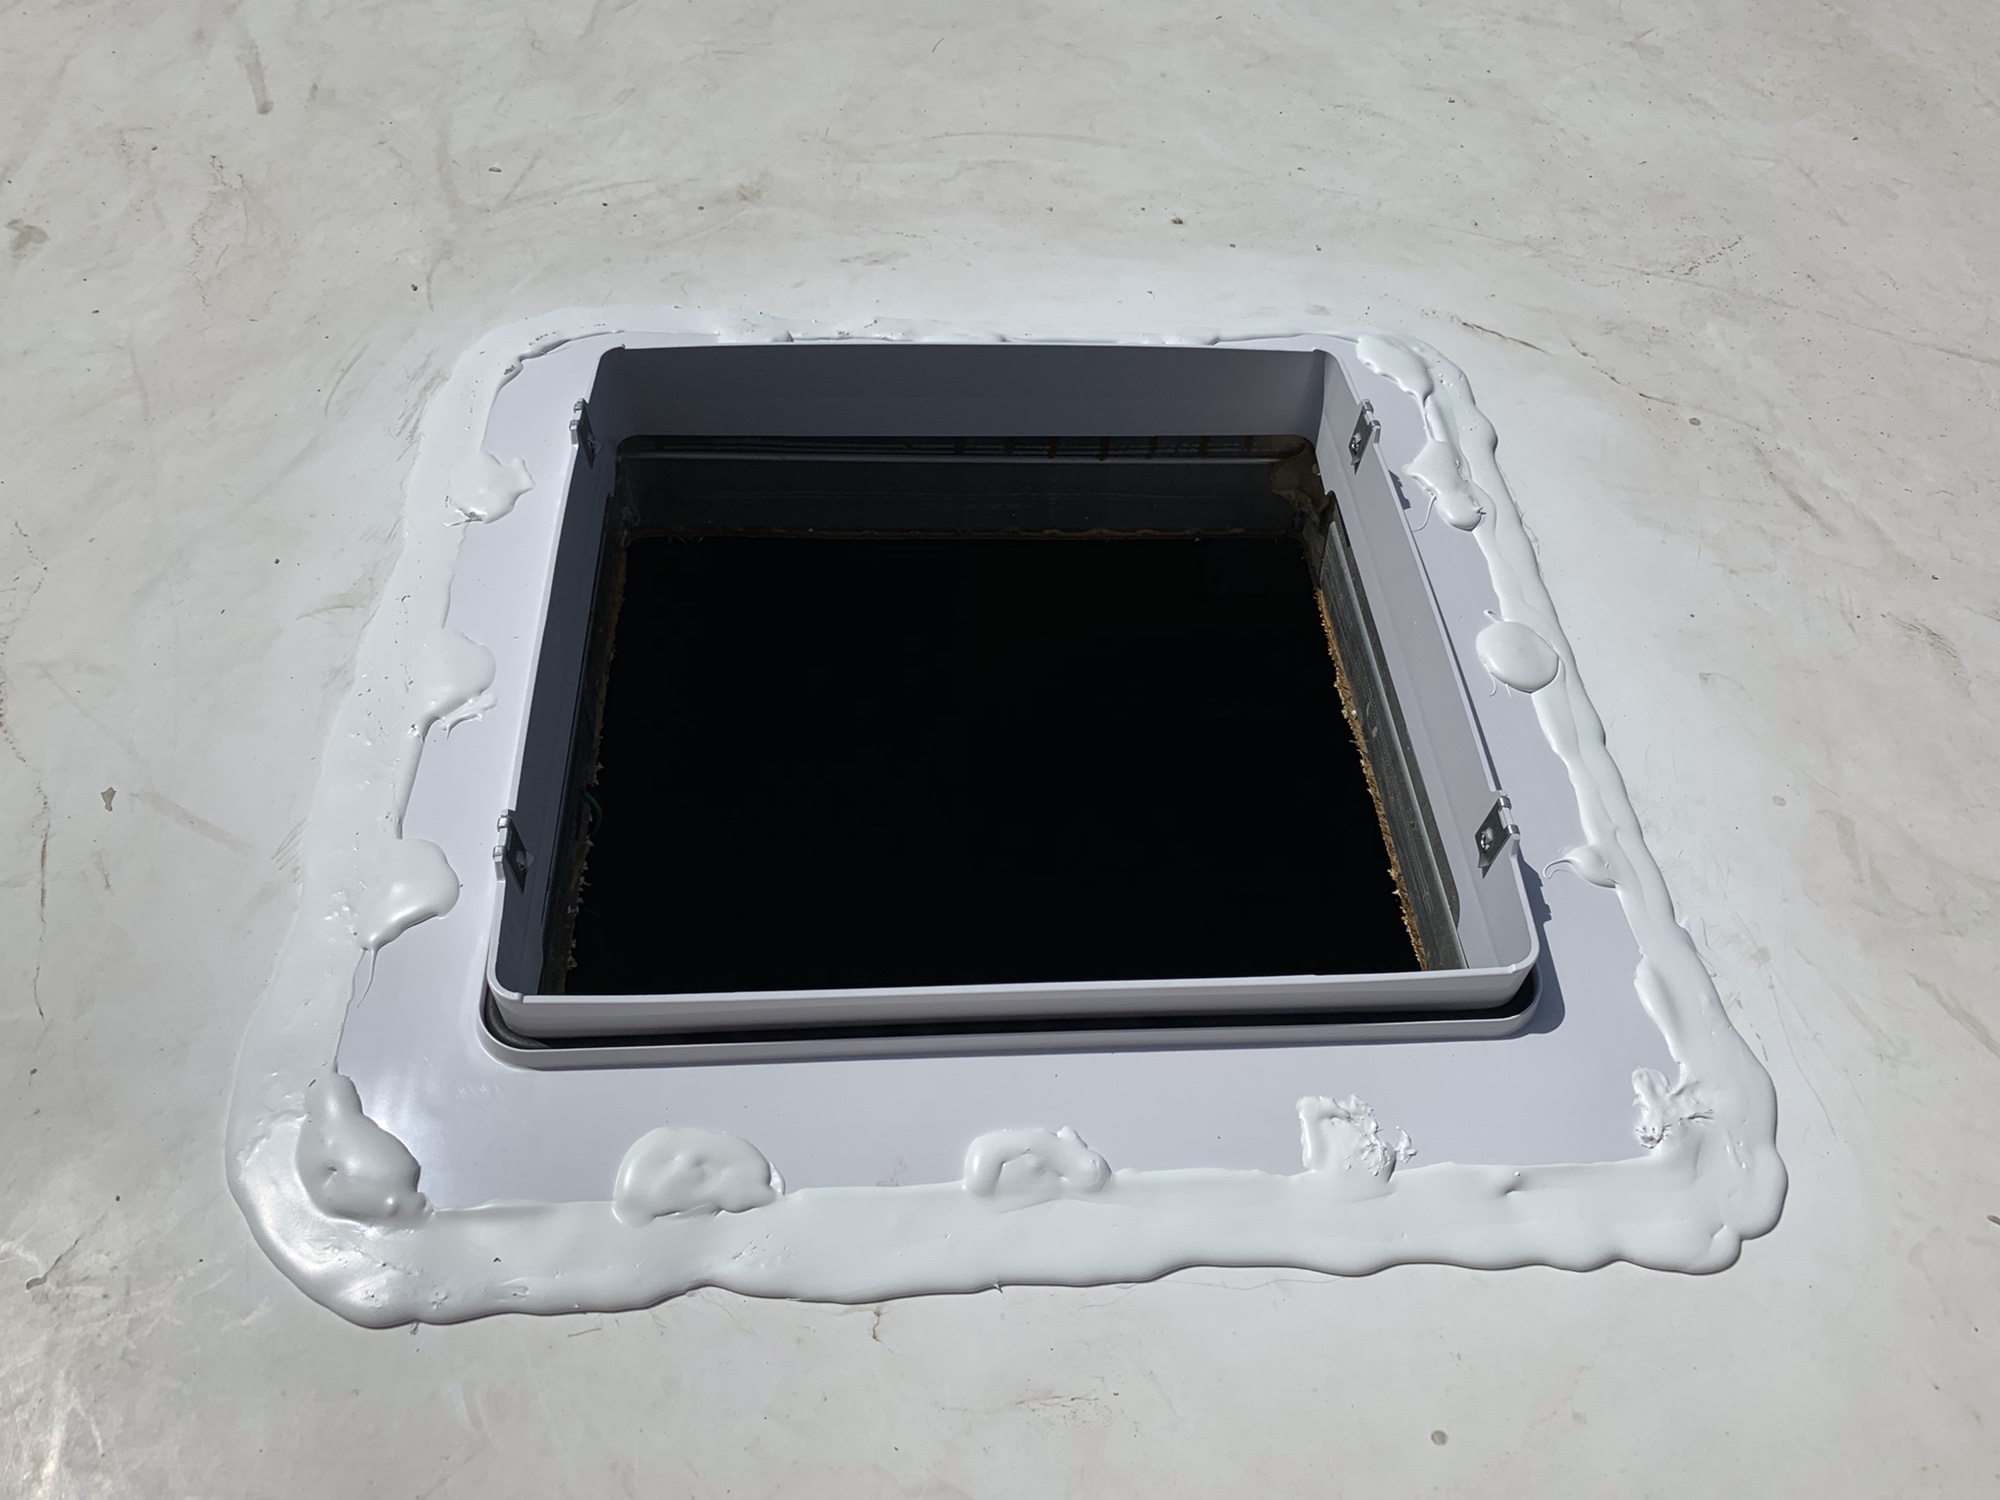
After screwing the new fan mount down, Karen ran some self-levelling sealant around the outside where it met the roof. This was our first go at using the self-levelling sealant, and we probably used too much. However, we did end up with an even coating that covered all of the screws, the sides of the fan mount and the roof – which is the main goal!

Mounting the fan itself
Finally, we installed the fan itself. Now, this is supposed to be very easy. However, we found that the fan did not want to sit on the mount properly. We think that the area where our vent goes has a little more curve than expected, which caused the mount to twist slightly.
We did finally manage to get the fan in, with a little pushing from above and some pulling from below. The fan bolts to the mount using 4 screws.


The last step was to add the vent trim inside the RV. Now I don’t know if this is because we used a European supplier, but the trim was not very deep – certainly not as deep as those shown in the videos. So we didn’t have to cut it down or anything, however, it doesn’t go far past the edges of the fan, and you can see some of the mounting hardware if you look in the right places.


How well does it work?
It’s… pretty good. It’s definitely powerful, we can draw plenty of air through the windows on a still day. It does have the problem that it can’t cool below the ambient temperature of the air outside, but that’s still pretty useful if you can’t run your A/C.
I’d say that we run the fan most days before we start using the A/C. We also use it whenever we cook, as it gets rid of the air that the cooker hood fan can’t.
There are some bad points though. Our fan squeaks at low speeds. We’ve read that this can be cured by running the fan for long periods at speed, but it hasn’t worked for us. We may disassemble that part of the fan, or we may return it under warranty. There’s also a distinct lack of balance to the blades, which you can see wobbling up and down.
The most concerning element for us though is that it is nowhere near as well sealed as our old vent. When closed it lets in more noise and more air. This might be partly due to the issues we had with installation, and we may sneak some additional insulation up the sides of the fan to mimic a taller trim piece. However, that won’t prevent the level of noise that gets through the plastic.
Both of these issues have been resolved since by Leisure Vehicle Services, see the update below.
Warning!
We have made some mistakes though! The worst was definitely when we left the fan on auto and then went out with the windows closed. That created a low air pressure situation in the van. With all of the windows closed, the air had to find a way in, and it came through the holding tank vents and out of the airlocks under the sinks! Essentially dragging in the air across the top of our stale sink and toilet water! We had a lovely smell to greet us when we got home!
Update 21 September 2019
Shortly after we posted this, Leisure Vehicle Services reached out to us about the issues we’d had with the fan. As the official distributor for MaxxAir in the UK, they wanted to see if they could help resolve the problems we were having.
They pointed out that the squeaky motor happens to a few fans per year. Running the fan on full power for at least 24 hours normally resolves the issue. As it hadn’t worked for us, they were happy to replace the fan unit itself under warranty.
They also addressed the poor sealing issues we experienced. Under UK/EU motorhome regulations, the fan has to offer a minimum level of permanent ventilation. Leisure Vehicle Services offer a seal kit which can be applied by the fan owner, or installed by the factory if ordered directly through them. As we were having the fan unit replaced anyway, we opted to let them install the additional seals.
A taller trim piece was also offered, but it was on backorder at the time and so we didn’t opt to have this sent out to us.
Exchanging and fitting the new fan
For the exchange, we were sent a new fan unit to install, as well as details of how to return the original unit. Changing over the two units took us about 30 minutes. All we had to do was remove the trim piece, unbolt the fan from the roof mount, and disconnect the power. Then reverse that process for the new fan. We didn’t have to remove the roof mount or break any seals to change the fan unit.


How’s the updated MaxxFan?
We are pleased to say that it’s much better! The additional seals are clearly visible through the translucent top and have made a big difference. Noise wise, the volume is similar to the bathroom roof vent when closed, whereas previously there was a noticeable difference.
Similarly, we can’t feel much air moving around the fan when it’s closed either. Even on a windy day outside, we don’t notice much of a draught coming through, if at all.
As for the squeak, it’s mostly gone. We have run the fan at speed, though not for a full 24 hours. However, it is much better than the previous fan and we don’t mind having it switched on when there are no other noises in the room now!
If you are having any issues with your MaxxFan in the UK, Leisure Vehicle Services have said that you should contact them through their website.
Overall opinion of the MaxxFan
Overall, we’re glad that we installed it. Do I wonder if a Fantastic Fan would be better? Yes, I do Not anymore. Do we make a lot of use of the fan? Yes, we do. It’s great to have airflow when the A/C can’t be used. We’ve also used it in ceiling fan mode, to help blow air around the van without the vent part open.
We also like the fact we went for the translucent option. It lets a nice amount more light into the van, especially in the mornings.